
Growing Food in the Southern Lakes - August Edition: Seeds, Spuds & Scavengers
Growing food in the Southern Lakes is a shared effort. Sixteen local growers, foragers, and food-lovers from SLKC are pooling what actually works in our climate, so beginners can start with confidence.
Whether you are renting, working with pots or planter boxes, or growing on a small patch of land, now is the time to begin.
This monthly blog brings together practical, seasonal knowledge from across the region to help households grow food, forage, and build up their pantry for the year ahead. Each edition is written for the beginning in mind, with guidance that's clear, practical, and easy to put into action.
For August, we're covering seed raising, potato varieties, and what to sow and plant out this month. We'll show you how to garden alongside Central Otago's rabbits, from plant choices to fencing, how to identify chickweed and what to do with it, and share two recipes: sauerkraut and yoghurt flatbreads.
Brought to you by the Southern Lakes Kai Collective
〰️
Brought to you by the Southern Lakes Kai Collective 〰️
Your August challenge!
Choose one… or more!
Read up on raising seeds and sowing methods
Order seeds or grab a few from the library!
Learn about potato growing
Find and correctly identify some chickweed... and give it a try!
Try to make sauerkraut or your own flatbreads
Attend one of Erin’s gardening workshops this August
-
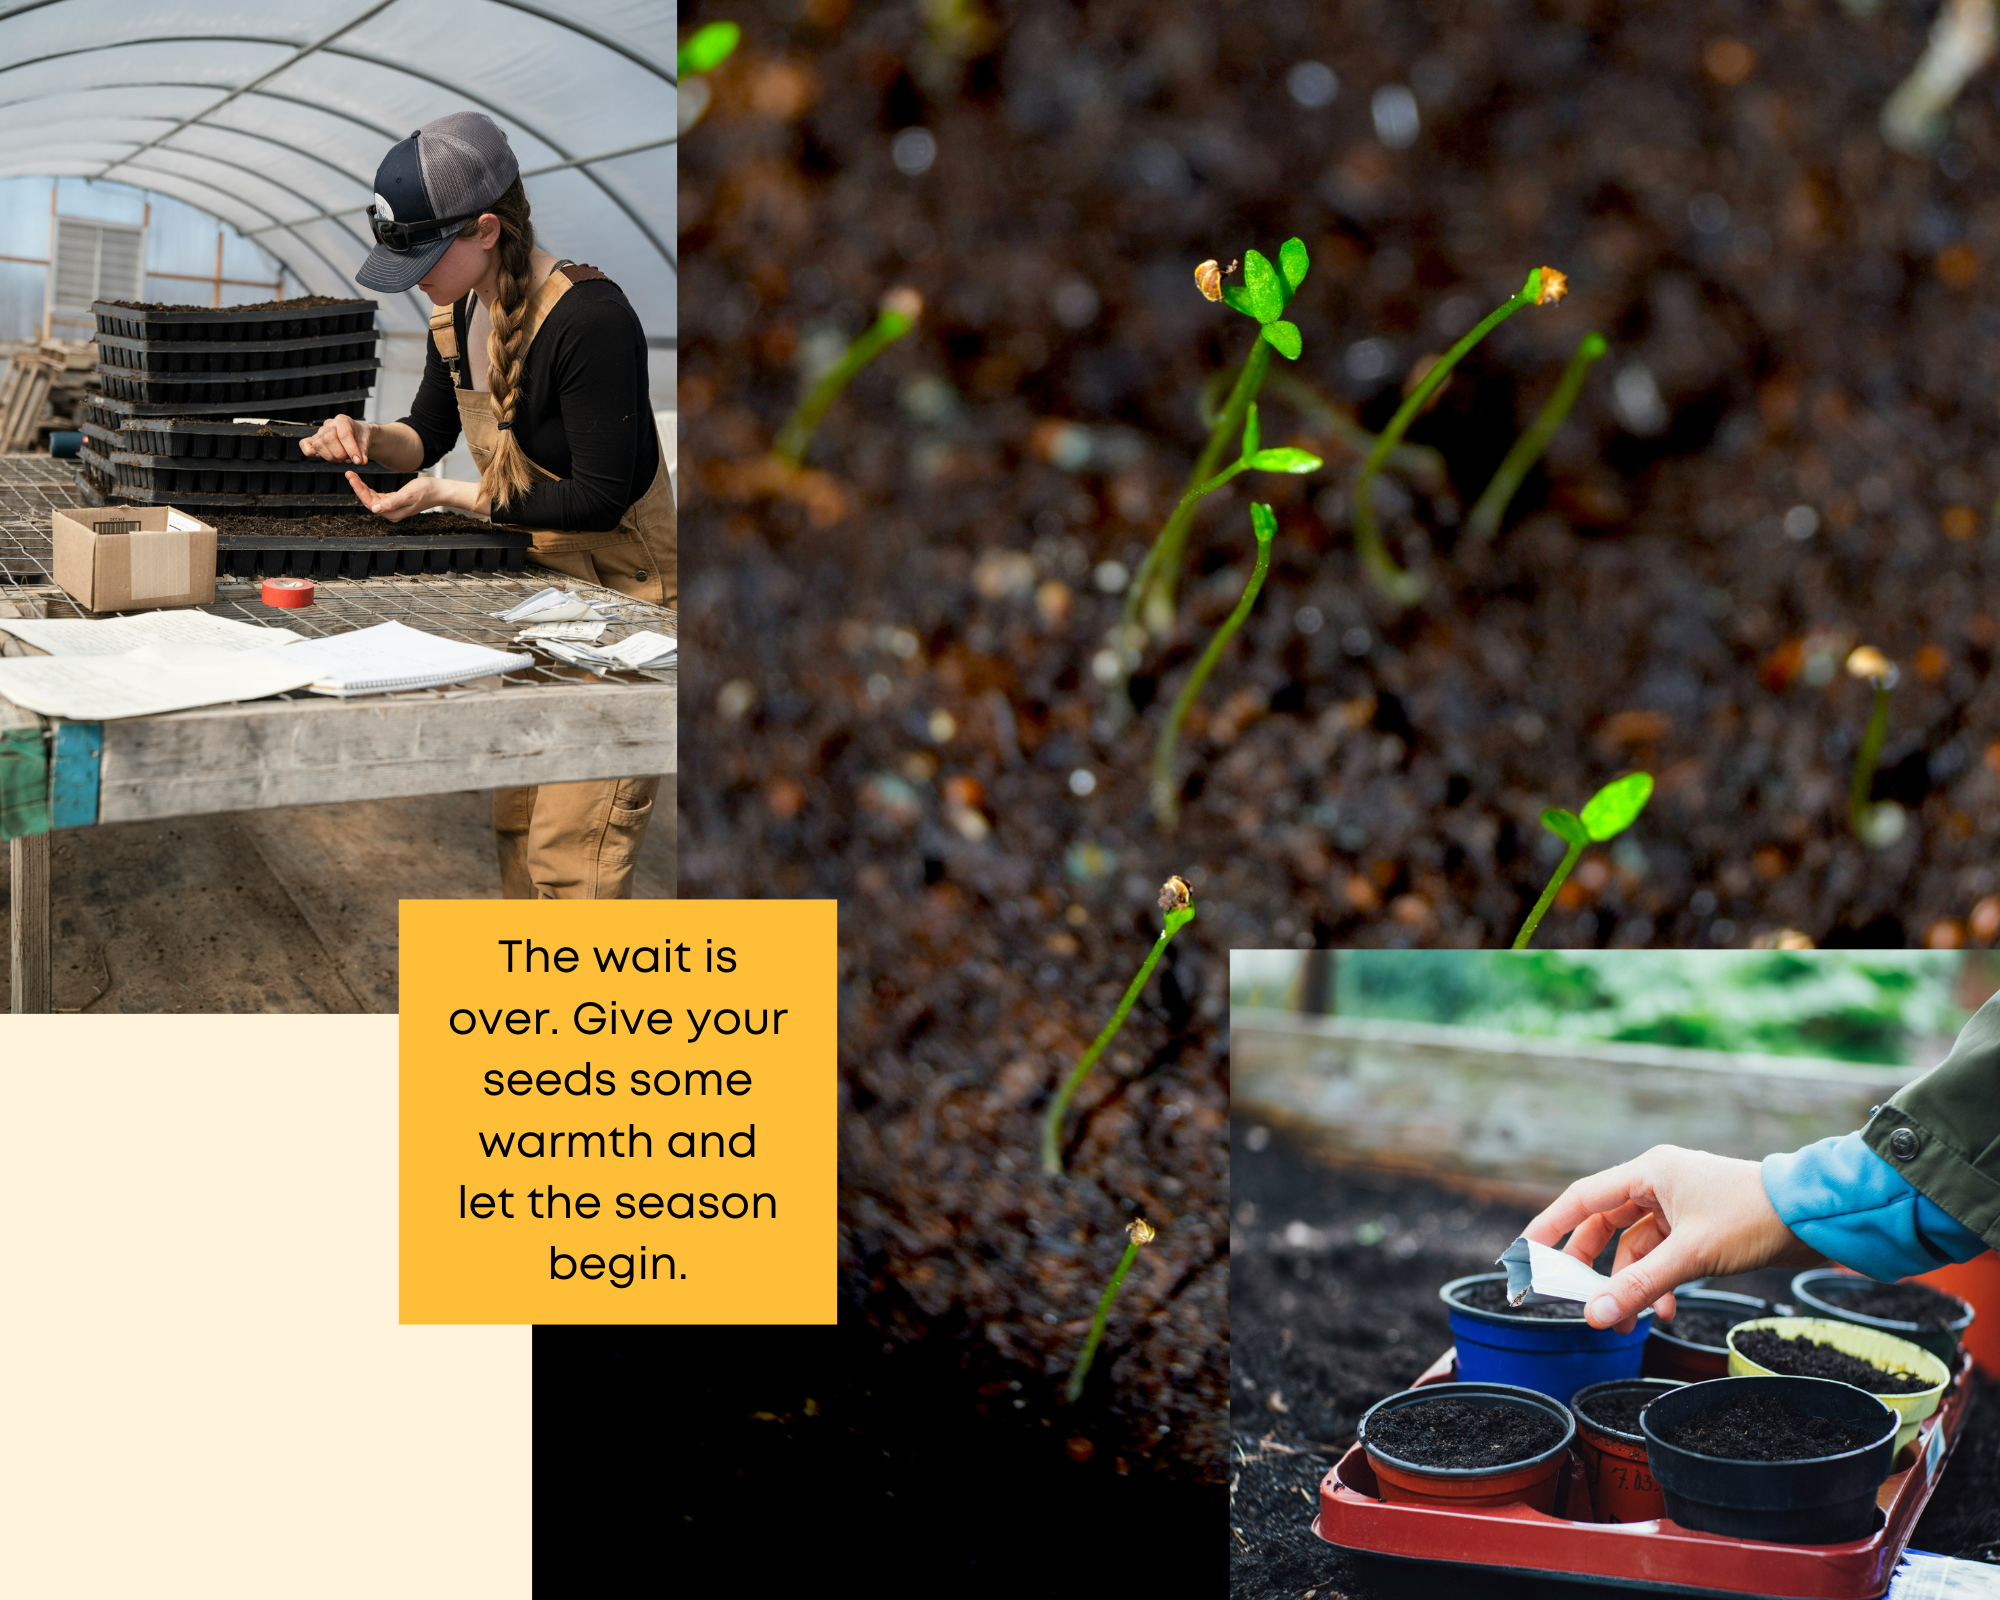
Following on from last months, where Erin shared how to read seed packages when choosing what seeds to buy, or deciding what veges to grow, in this section you will learn about seed germination, with and without heat sources.
Contributed by Erin at Harvest Homegrown
Every seed needs: WARMTH + MOISTURE >> THEN LIGHT
Whether we are direct seeding (straight in the garden) or raising seedlings to plant out later, the below always applies.
Warmth - All seeds germinate at different temperatures, this can range from 7°C to 25°C, check your seed packets or online. Most plants only need this warmth to germinate, then once they are above the soil they can survive at lower temperatures. How are you going to supply a fairly consistent temperature, sometimes for up to 3 weeks while the seeds germinate? Note: Seedlings don’t need light until they pop through the soil, so you could use a hot water cupboard, stack trays close to your fire, seed raising mat, top of the fridge, sunny window sill, underfloor heating…
Moisture - All seeds need to absorb a certain amount of moisture to germinate. So any seed raising space needs to be prepped to handle or absorb a bit of water, and the way you supply that water may need to be well controlled. Watering should always be gentle but also thorough. Wet the soil completely, not just the top surface, then allow it to drain well.
Direct Sunlight - Seeds don’t need light to germinate, but as soon as those plant babies pop through the soil they need all day direct sun. If they don’t get enough sun then your plants will be leggy (long thin stems) and likely not survive transplanting or the slightest wind without intervention. So where will you pop your seed trays whilst they grow to transplant size?
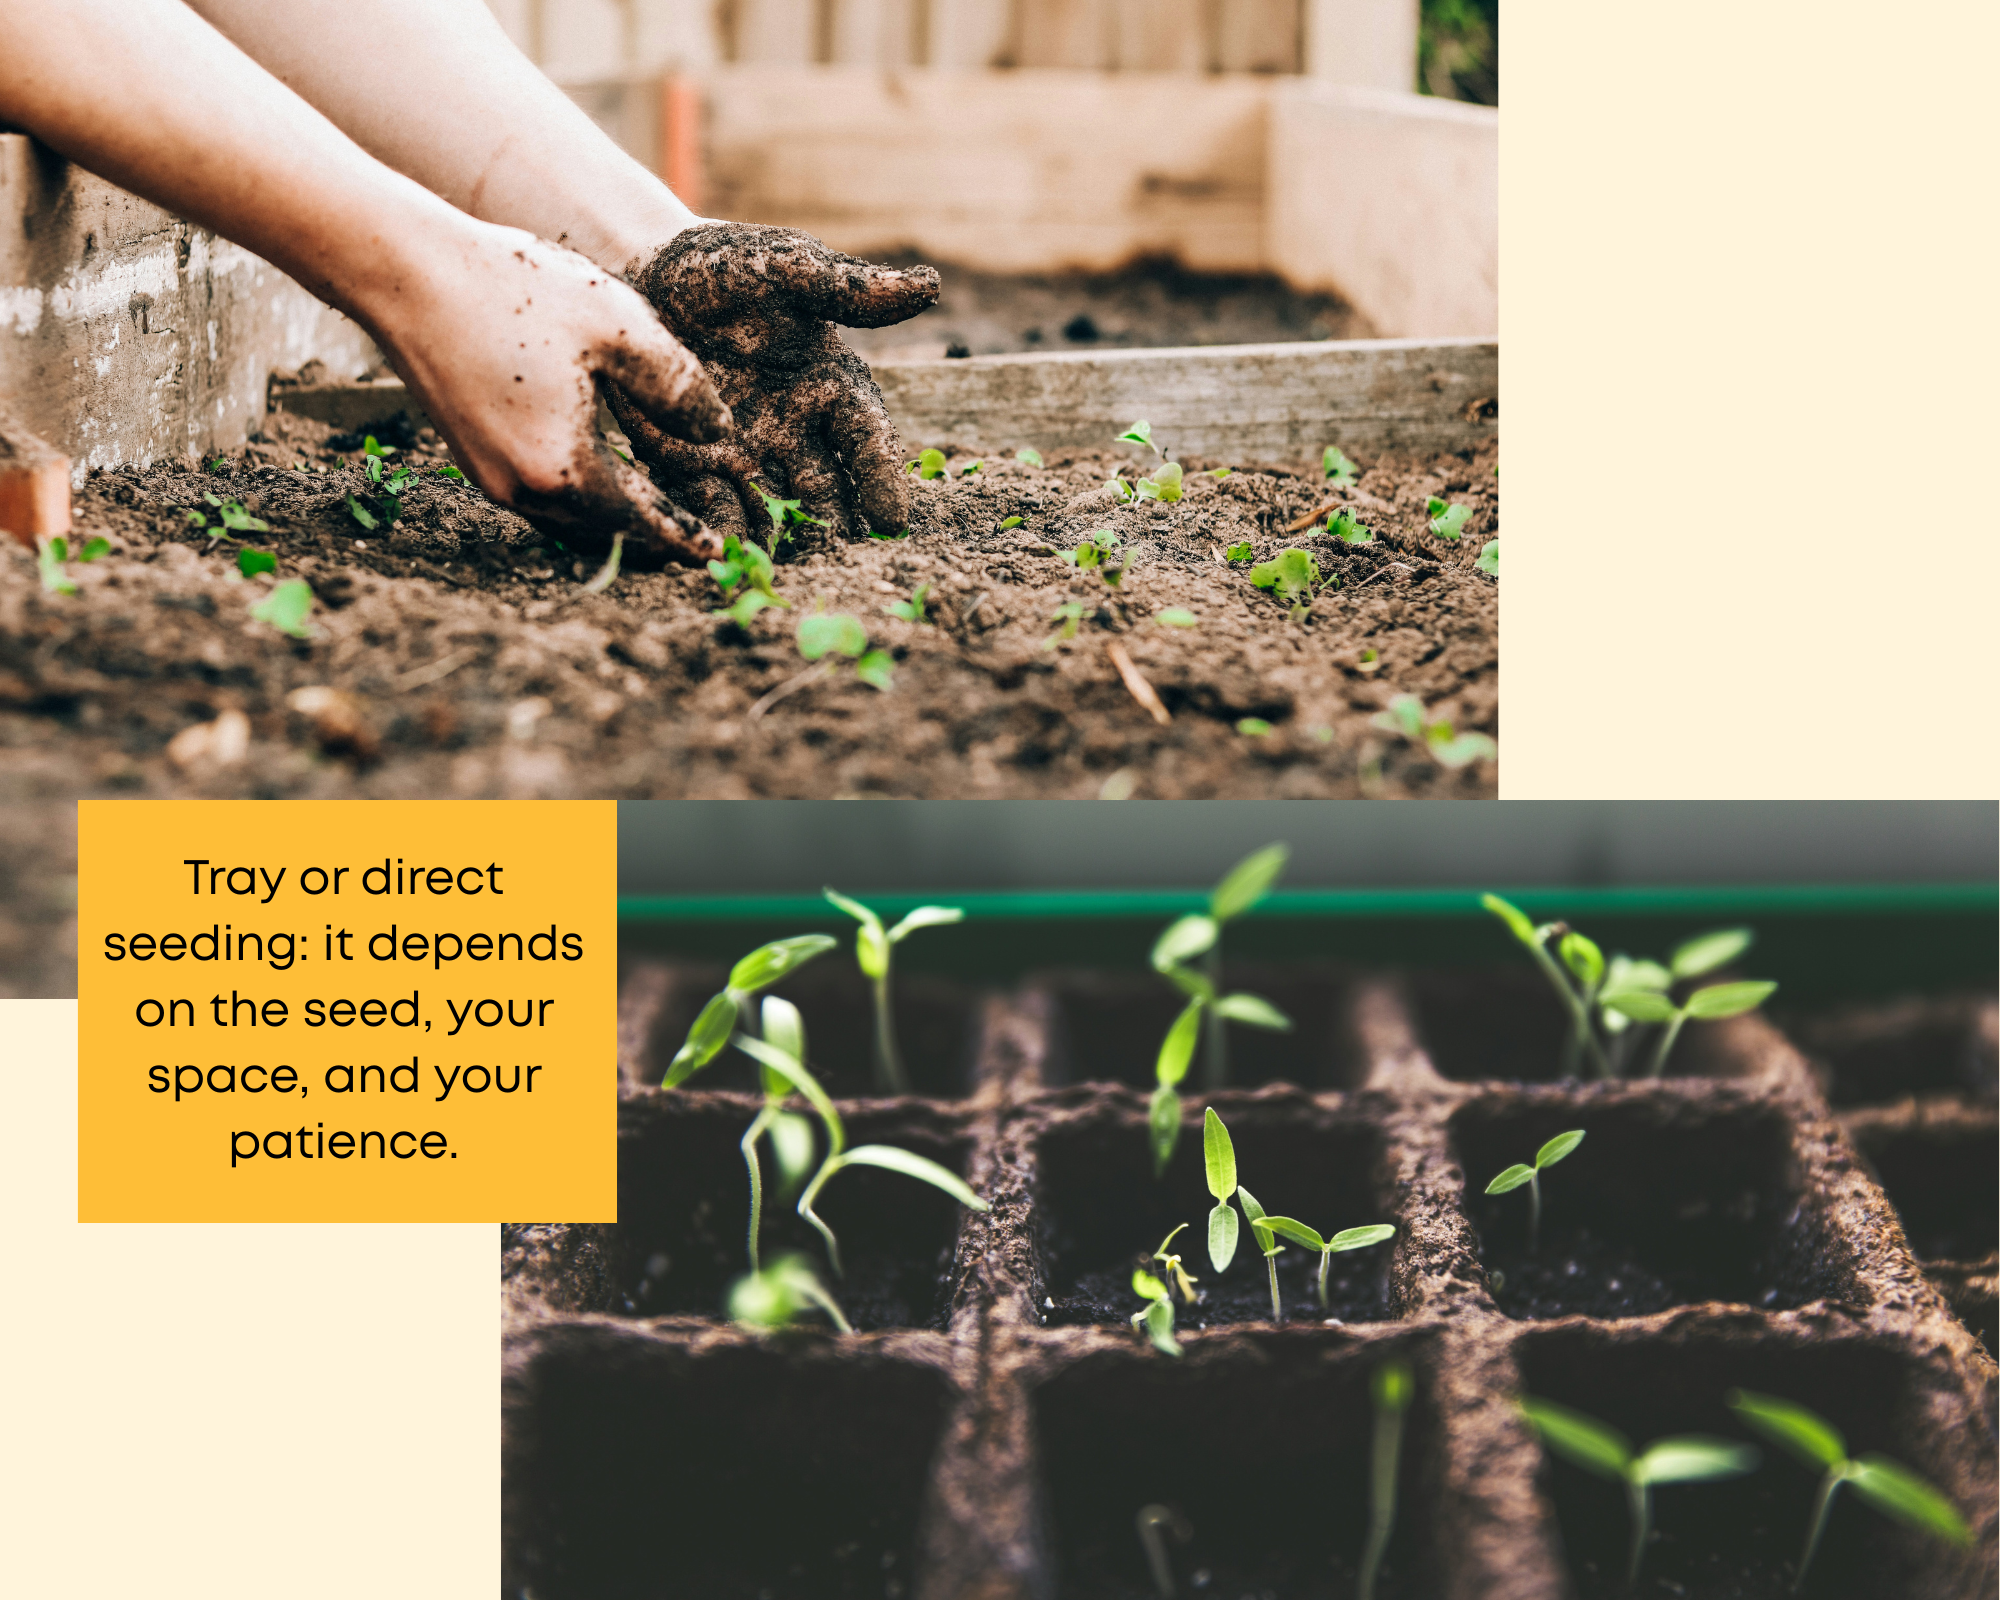
Direct seed or grow seedlings for transplant?
Some veggies just don’t do well when transplanted, they prefer to be direct seeded and left to grow.
Basic rule:
Edible roots (carrots, radishes, beetroot, parsnips etc.) and quick grown greens crops (rocket, spinach, mizuna etc) should always be directly seeded straight into the garden or container.
Heat sensitive crops, slow growing crops, or early season crops should be grown as seedlings to be transplanted.
-
Contributed by Erin at Harvest Homegrown.
Growing seedlings to plant out later
Method:
Sow seeds into a moist potting mix, twice the depth of the size of the seed, keep well watered (from bottom with a tray or top with gentle shower). Always keep moist but not saturated, and never allow it to dry out.
Keep warm (based on germination temp).
Give them enough time to germinate check the typical days to germination length for each seed. Then give them an extra week just to be safe.
Once germinated they need full sunlight to grow short and stocky. They may now be able to handle colder temperatures depending on the variety.
Ready to plant - when your seedlings have 4-6 true leaves - true leaves are the ones that appear after the first pair (the cotyledons) - and have established roots that hold on to soil.
Harden off to reduce transplant shock - Start to harden off 1 week before planting, in a sheltered position outside, protected from frost and wind. Note this is not needed for tunnel/glasshouse crops, and should also be done with any store bought/gifted plants.
Should you grow seedlings in individual cells or flat trays? Using containers or cell trays means pricking out is usually not required, and less disturbance to roots when planting out. Flat trays are handy if you are short of space, but are more fiddly and time consuming when it comes time to plant out. If you don’t space seeds well in trays, you may need to prick out seedlings.
‘Pricking out’ is when you move very small seedlings from flat trays into individual containers to grow on further before transplanting later, or when seedlings get ‘leggy’ due to low light and require repotting. Done at cotyledon stage (first 2 leaves only), you handle plants by the leaves only (never the neck of the plant), use a tool to gently loosen soil under the plant roots, lift it out gently, don’t force/drag the plant out, and replant in a bigger container or tray with adequate spacing. Try to avoid pricking out where possible as it’s very easy to damage plants when doing this.
Summarised sequence for seedlings: sow → germinate → (prick out if needed) → grow on → (pot on if needed) → harden off → plant out.
Tips: Always use clean trays/cells, dried well in the sun.
You can plant one seed per cell/container or multiple seeds per cell where it makes sense. Eg 10 spring onion seeds per cell or 3 pak choi or baby greens per cell.
Big seeds need a big pot! eg zucchini, pumpkin, melons, cucumber.
‘Pot on’ plants into a bigger container if needed - this provides new nutrients to ensure healthy growth and allows you to establish and protect plants for longer before planting out.
Direct Seeding - sowing straight in the ground
Before you start:
Temperature of the soil vs temp required for germination - a soil thermometer pushed 5cm into the bed is one way to check, but you don't need one to get a good feel for it. Keep an eye on the daytime air temperatures instead, and once they've hit (or are close to) the required germination temperature for about a week running, it's usually safe to give it a go. You may need to wait until later in the season, or can you warm or cool the soil to the required temp using a plastic cover/sheet of glass, or shade cloth to cool it in summer.
Prepare your soil before you seed - fork to loosen, apply fertiliser (eg compost), rake to amend surface soil texture if needed to a fine tilth. Baby seedlings cannot push through heavy lumpy soil. Use a top layer of seed raising mix or compost if you need to.
Method:
Create a furrow or individual holes to sprinkle or plant individual seeds. Depth of sowing should be twice the depth of the seed. Space seeds as they should be when grown to full size. ie 40cm apart for Broccoli, 15cm apart for Broad Beans etc.
Cover lightly with soil OR compost/potting mix, something visible, weed free, darker so it warms quicker.
Ensure constant moisture for germination - water gently and regularly and always cover with frost or shade cloth until established. A cover makes a huge difference to germination success, it keeps soil warm in winter or shaded in summer, keeps soil moist, keeps birds off tender seedlings and seeds.
You may need to thin seedlings out if they were sown too closely - do this at cotyledon stage (first 2 leaves only), and just pull out or chop the top off any unwanted plants.
Seeds sown thickly in trays get pricked out; seeds sown where they'll grow get thinned.
Summarised sequence for direct sown crops: sow → germinate → thin → grow to harvest.
Want to learn everything you need to know to grow from seed successfully? Erin at Harvest Homegrown runs a variety of workshops during the season to teach you everything you need to grow well in this climate. Find out more here.
We’ll dive into ‘planting out’ in more detail next month, but in the meantime, you can get a little taste with the section below: ‘What to Plant Outdoors in August’.
Resources:
If raising seedlings from seed is too time consuming for you, our local garden centres offer a wide range of seedlings come spring. So don’t sweat it too much!
In a recent Wao event, we also encouraged people to create seedling co-ops, where you share the load raising seeds. Have a read HERE and get a group of friends together to share the load.
A few terms
Pricking out – separating crowded seedlings from a tray into individual pots.
Thinning – removing excess seedlings so the rest have room.
Potting on – moving a plant into a larger pot once it outgrows the first.
Hardening off – gradually getting seedlings used to outdoor conditions before planting out.
TIP: By the way, did you know that the Wānaka library has a seed library? They only ask you to bring some seeds back at the end of the season for other people to use.
Local workshops: Harvest Homegrown holds a range of veggie growing workshops throughout the growing season.
Erin from Harvest Homegrown also offers these localised growing PDF guides for a small fee ($9 to $12 each):
Interplanting for high yields and healthy soil, including planting plans: https://stan.store/harvesthomegrown/p/interplanting-for-high-yields--healthy-soil (this PDF guide briefly mentions how much to grow of each plan for household sizes also).
Growing from Seed: https://stan.store/harvesthomegrown/p/growing-from-seed
Planning an efficient garden: https://stan.store/harvesthomegrown/p/planning-an-efficient-garden
Printable Veggie Garden Journal: https://stan.store/harvesthomegrown/p/printable-veggie-garden-journal
Local podcast: The Your Garden Coach podcast also guides you month by month on what to do in your Southern Lakes garden! And if you sign up to their newsletter, you’ll receive seasonal tips right in your inbox.
Local videos: Dig in with Del- follow Del’s journey as she transforms her garden into her pantry. From building garden beds and filling them with soil and compost, to choosing seeds and getting everything planted, join her through a series of fun, practical videos as she grows her own food from the ground up.
-
Contributed by Mikey Dahlstrom from Millbrook Resort Market Garden.
For Central Otago, August is a good time to focus on preparation rather than planting. Potato planting is usually done from October, once the risk of severe frost has eased and the soil has begun to warm. Some gardeners plant earlier in sheltered areas with frost protection.
Understanding seed potatoes
When it comes to growing potatoes, the vast majority of gardeners will choose to plant seed potatoes rather than potato seeds, which is an important distinction. Potato seeds are the true botanical seeds produced in the pollinated flowers of the plant. Due to the genetic variability of these true seeds, it is much easier and more reliable to instead plant seed potatoes which will guarantee a genetic copy of your chosen cultivar. These seed potatoes are smaller tubers that are not meant for consumption and are specifically bred to increase disease resistance and produce high yields. It is advised to purchase certified potato seeds to ensure they have been inspected for any diseases or other problems.
Choosing varieties
There are a few things to consider when choosing your potato variety. Seed potatoes can generally be split into two categories; “early” and “maincrop” potatoes. Early potatoes are the fastest maturing variety, taking 60-90 days to produce smaller, somewhat waxy and tender tubers with a slightly sweeter flavour. These early potatoes can be as small as a golf ball depending on your preference, and are best suited for steaming or boiling. Because of their smaller size and tender uncured skin, these potatoes are not meant for storage and should be eaten relatively quickly after harvest. Some cultivars that do well here in Central Otago include Rocket, Swift, Cliff Kidney, and Purple Heart.
Although maincrop potatoes may be harvested earlier as “new potatoes”, they are generally a longer season crop taking around 100 to 140 days to produce high yields of large starchy tubers. These tubers are what most of us think of when we think about a classic store-bought potato. Because these potatoes have had much longer to grow into large, thicker-skinned tubers they are suitable for longer storage and can therefore be enjoyed throughout the winter months. With the development of the starchy, floury goodness inside the tubers, these potatoes are generally better for mashing and roasting than early potato varieties. Some recommended maincrop potato cultivars are Agria, Heather, Desiree, and Summer Delight.
Inspecting and selecting seed potatoes
Even if you are purchasing certified seed potatoes, it is important that you personally inspect them for any signs of damage, disease or rot. Ideally, quality seed potatoes will be anywhere from the size of a hens egg to as big as your fist depending on the variety. The flesh should still be firm, free of cuts and bruises, with no signs of mold or rot. This is a crucial step to ensure you get the yields you are looking for, as any damaged seed potatoes may be susceptible to disease that may spread and could even cause long-term problems for the rest of your garden.
Chitting (pre sprouting)
Before planting, seed potatoes must be “chitted” or “sprouted”. Chits are the small, sometimes alien-looking sprouts that emerge from the “eyes” of the potato. These chits will grow and spread out once planted in soil and ultimately produce the tubers for consumption. Many bags of seed potatoes available for purchase may already be chitted, meaning they will have visible sprouts growing out of the tuber, ideally about 1cm in size at minimum. However, if your seed potatoes have not been chitted you can easily chit them yourself at home. To encourage chitting, simply lay out your seed potatoes in a cool, dry, bright and frost-free location for a few weeks until the chits appear. This is best done in late winter or early spring to give the potatoes a head start before being planted out when the risk of frost has passed.
Storing seed potatoes until planting
If you have already purchased your seed potatoes but the risk of frost has not yet passed, you need to store them properly to avoid damage and premature sprouting. Ideally, seed potatoes are best stored in a cool, dark, and well-ventilated area. It is vital that you do not wash your seed potatoes before storage to avoid introducing moisture that will lead to rot. You want to maintain a temperature of 3-5 degrees to prevent premature sprouting, which is triggered at around 10 degrees. Mesh or burlap sacks are perfect for storing your seed potatoes and ensuring some ventilation throughout - you do not want to just chuck them in a bin bag or they are sure to rot! Wherever you choose to store them (garage, shed, etc.) make sure to check on them periodically for signs of rot or pesky critters getting into them and promptly discard any affected tubers. Having somewhere to hang your potato sacks is highly recommended to increase ventilation and prevent rodents from stealing your precious potatoes.
Discussion
Personally, I have had great success with growing early potatoes for the restaurants at Millbrook. As a fine-dining establishment, the chefs at the Millhouse Restaurant prefer to use these tender, sweet, early varieties for succulent side dishes rather than the starchy storage potatoes from a maincrop. In our climate, you can even get 2-3 flushes of these little beauties in a single season. We have experimented with a few different cultivars, and have found that Rocket and Cliff Kidney potatoes have performed exceptionally well. We have even tried harvesting traditionally maincrop potatoes earlier to get “new potatoes”, and have found that Summer Delight and Agria seed potatoes produce delicious bumper crops of small tubers.
If you're just starting out and working with a smaller garden, I'd suggest sticking to just one or two cultivars in your first season, rather than ending up with a garden full of only potatoes. It's easy to underestimate just how productive potatoes are - one single seed potato can multiply into a whole bag of tubers by harvest time. As a rough guide, each potato plant needs around 30cm of space within its row, with rows spaced about 60-75cm apart. So if you've only got one garden bed and want room for other crops too, planting just two chitted seed potatoes will only need you to set aside around half a square metre of space.
No matter whether you’re growing early potatoes for summertime consumption or maincrop potatoes to get you through the wintery months, we encourage you to experiment with new cultivars and have fun with it! Potatoes are a great introductory crop for new gardeners as they are relatively low maintenance and usually produce a very rewarding yield of tasty tubers for a manageable amount of effort. There is a reason they have been used as a survival crop for centuries - they are highly nutritious, easy to grow, store well, and are widely applicable for many different types of preparation. Who doesn’t love a good spud?!
In October, we’ll dive into the specifics of when, where, and how to plant your seed potatoes, and what steps to take to ensure you get a happy, healthy harvest. Happy gardening!
Resources:
Your Garden Coach podcast also has a whole episode on the humble potato.
-
Outdoors
Contributed by Erin at Harvest Homegrown
August marks the start of the outdoor growing season here in the Southern Lakes, daylight hours getting back above 10 hours a day, means plants will start to grow again, though our frosty nights means caution is still needed.
Planting seedlings
From the beginning of August, you can plant out seedlings of anything that isn't affected by frost such as broccoli, cabbage, kale, silverbeet (chard), leeks, spring onions and onions.
It's best to give these a protected environment to start with - a tunnel house, glasshouse, or even a container on a covered porch all work well while the nights are still cold. And make sure you don’t forget to ‘harden off’ any seedlings before planting (see above, chapter B. Sowing Methods).
Direct seeding
You can start direct seeding into tunnels, glasshouses and containers from the beginning of August, or outdoors from around mid-August. The key is choosing crops that germinate at 15 degrees or lower and aren't bothered by frost. Good options include peas, spinach, rocket, radish, turnip, mustard greens, and broad beans.
Depending on the weather, you may need to cover with clear plastic or frost cover, to keep soil temperatures up, until you achieve germination.
In any case, make sure you don’t forget to first read chapter B. Sowing Methods- direct sowing.
If you enjoy hands-on learning, come along to one of my growing workshops!
Indoors
Microgreens
Mesclun salad mixes - Rocket, Mizuna, Mibuna are the quickest
Asian Greens - Pak Choi, Tatsoi
Herbs
Sprouting seeds
Start seedlings to plant out later of almost any veggies, but wait until the end of August to start your summer tomatoes, pumpkins, corn etc.
Microgreens & Sprouts
Microgreens and sprouts are especially good for beginners: fast, easy, reliable and nutritious.
For simple instructions, check our Month of May gardening blog or check out King’s Seeds guides.
Resources:
Local workshops: Harvest Homegrown holds a range of veggie growing workshops throughout the growing season.
Local podcast: The Your Garden Coach podcast also guides you month by month on what to do in your Southern Lakes garden!
Local videos: Dig in with Del - follow Del’s journey as she transforms her garden into her pantry. From building garden beds and filling them with soil and compost, to choosing seeds and getting everything planted, join her through a series of fun, practical videos as she grows her own food from the ground up.
Kings seeds migrogreens and sprouts guide.
-
Contributed by Babu from SLKC, with the help of Michael Sly from Waste to Wilderness.
Central Otago has some of the highest wild rabbit densities in New Zealand, and anyone growing food here knows they're not just a farm problem. Late winter through early spring — right now, in other words — is when rabbits are hungriest and least fussy. When food is plentiful, rabbits stick to their favourites; when it becomes scarce, they become far less selective, and in winter they turn to woody plants, chewing twigs, stems and bark — which is why young fruit trees and berry bushes are most at risk in July, August and September. Then, just as natural feed returns, spring brings a fresh wave of pressure: tender new growth and seedlings are exactly what rabbits target, and a single female can produce four or five kittens every six weeks — up to 45 offspring in a year. So the months to be hyper-aware are roughly July through October: protect bark and woody plants in late winter, and seedlings from early spring.
Plants rabbits (mostly) leave alone
Nothing is truly rabbit-proof — a hungry Central Otago rabbit in August will test anything. But some plants are consistently low on the menu, usually because of strong scent, bitterness or texture. In the food garden, that means the aromatic herbs: rosemary, sage, thyme, oregano, mint and lavender. The allium family — garlic, onions, chives and leeks — is also generally avoided, and rhubarb's toxic leaves keep it off the menu. Globe artichokes, with their coarse, spiny leaves, are another crop rabbits tend to pass over — though in our climate they'll want a sheltered spot and a thick winter mulch. A border of herbs and marigolds around vulnerable beds can also help mask the tastier crops behind it — rabbits' favourites include leafy greens, carrots, beans and beetroot, so those are the beds to protect first.
Keeping them out
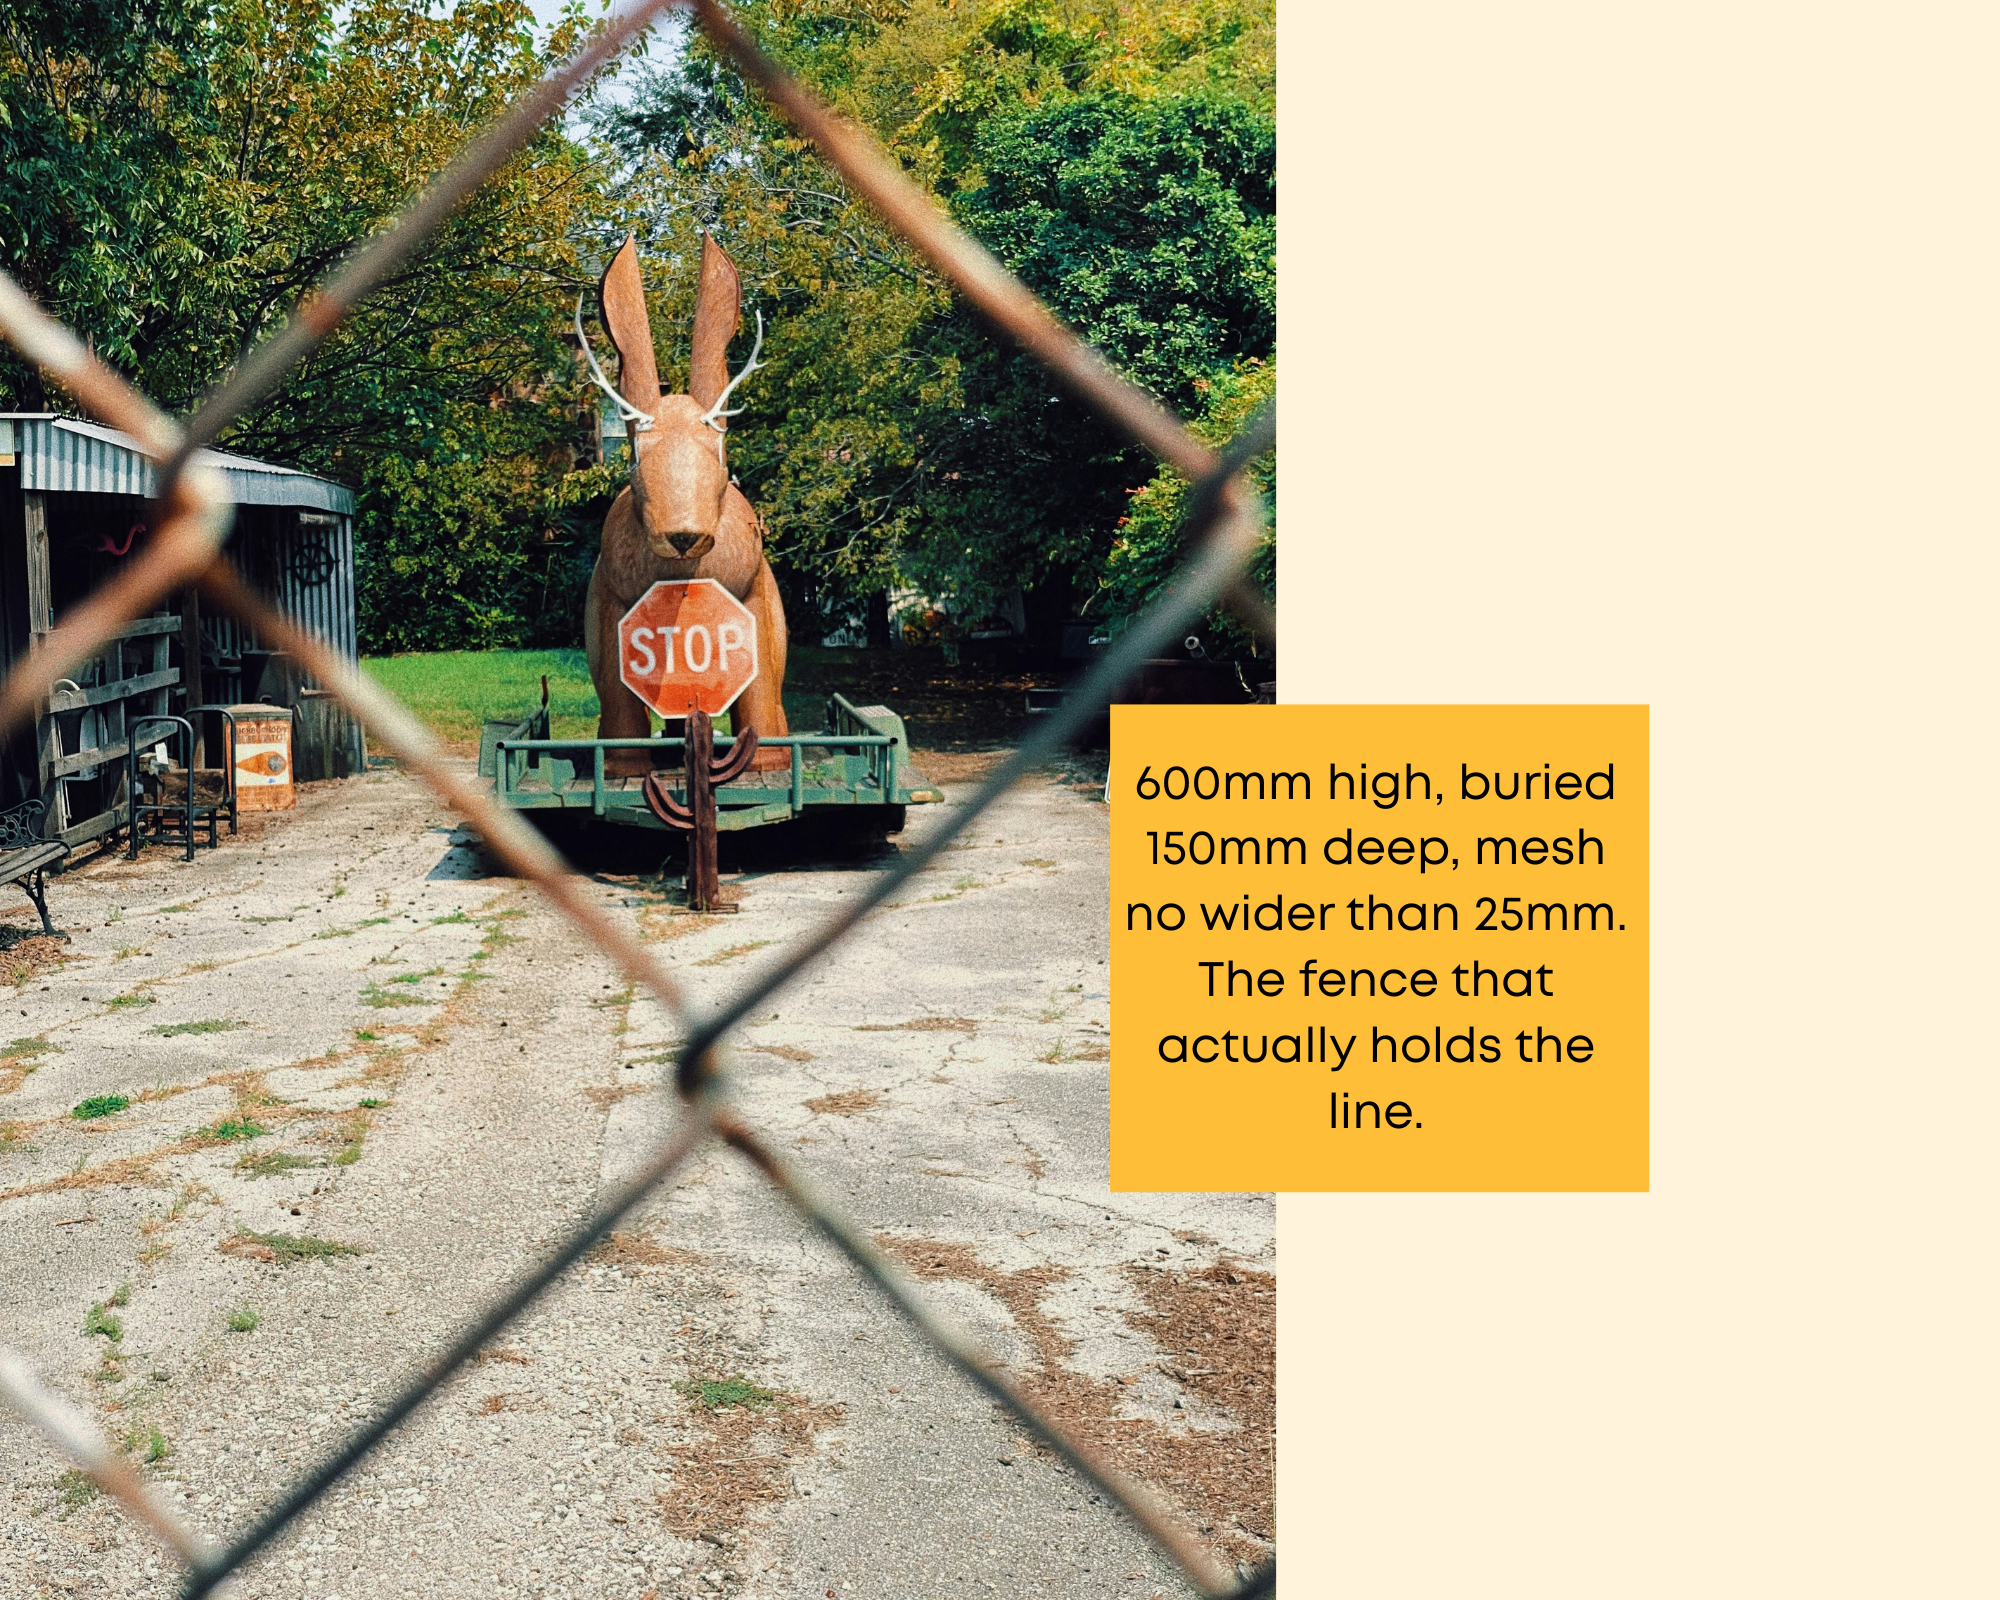
The Otago Regional Council's advice is that a rabbit fence should be at least 600 to 900 mm high (the higher the better), made from galvanised wire netting, since rabbits chew through plastic. Rabbits can jump higher when panicked, so for critical boundaries or where dogs run, taking the netting to around 1.1 m is worth the extra. Mesh should be no larger than 40 mm, or 19 to 25 mm to exclude young rabbits, and the bottom should be buried at least 150 mm or bent outward as an apron and pegged or weighted down on the side the rabbits approach from. For critical boundaries, netting on both the inside and outside of the fence line adds a second barrier. Frost cloth over garden beds protects against frost and rabbits alike, and it also keeps blackbirds off newly sown seedbeds - they scratch out mulch and young seedlings just as readily.
Check your boundaries regularly for digging and holes. For individual fruit trees and currants, a simple netting cylinder around the trunk protects the bark through winter. Beyond barriers, think habitat: short lawns, wood piles, sheds and dense vegetation all provide the cover rabbits love, and removing it can have a more lasting effect than most other methods.
Worth knowing: ORC doesn't control rabbits on private land — all land occupiers are responsible for keeping numbers at level 3 or below on the Modified McLean Scale. As a rule of thumb, if you're seeing groups of droppings less than 10 metres apart, there's a problem. For advice, see ORC's rabbit pages — their rabbit management page covers control methods in detail — or contact the biosecurity team on 0800 474 082 or biosecurity@orc.govt.nz.
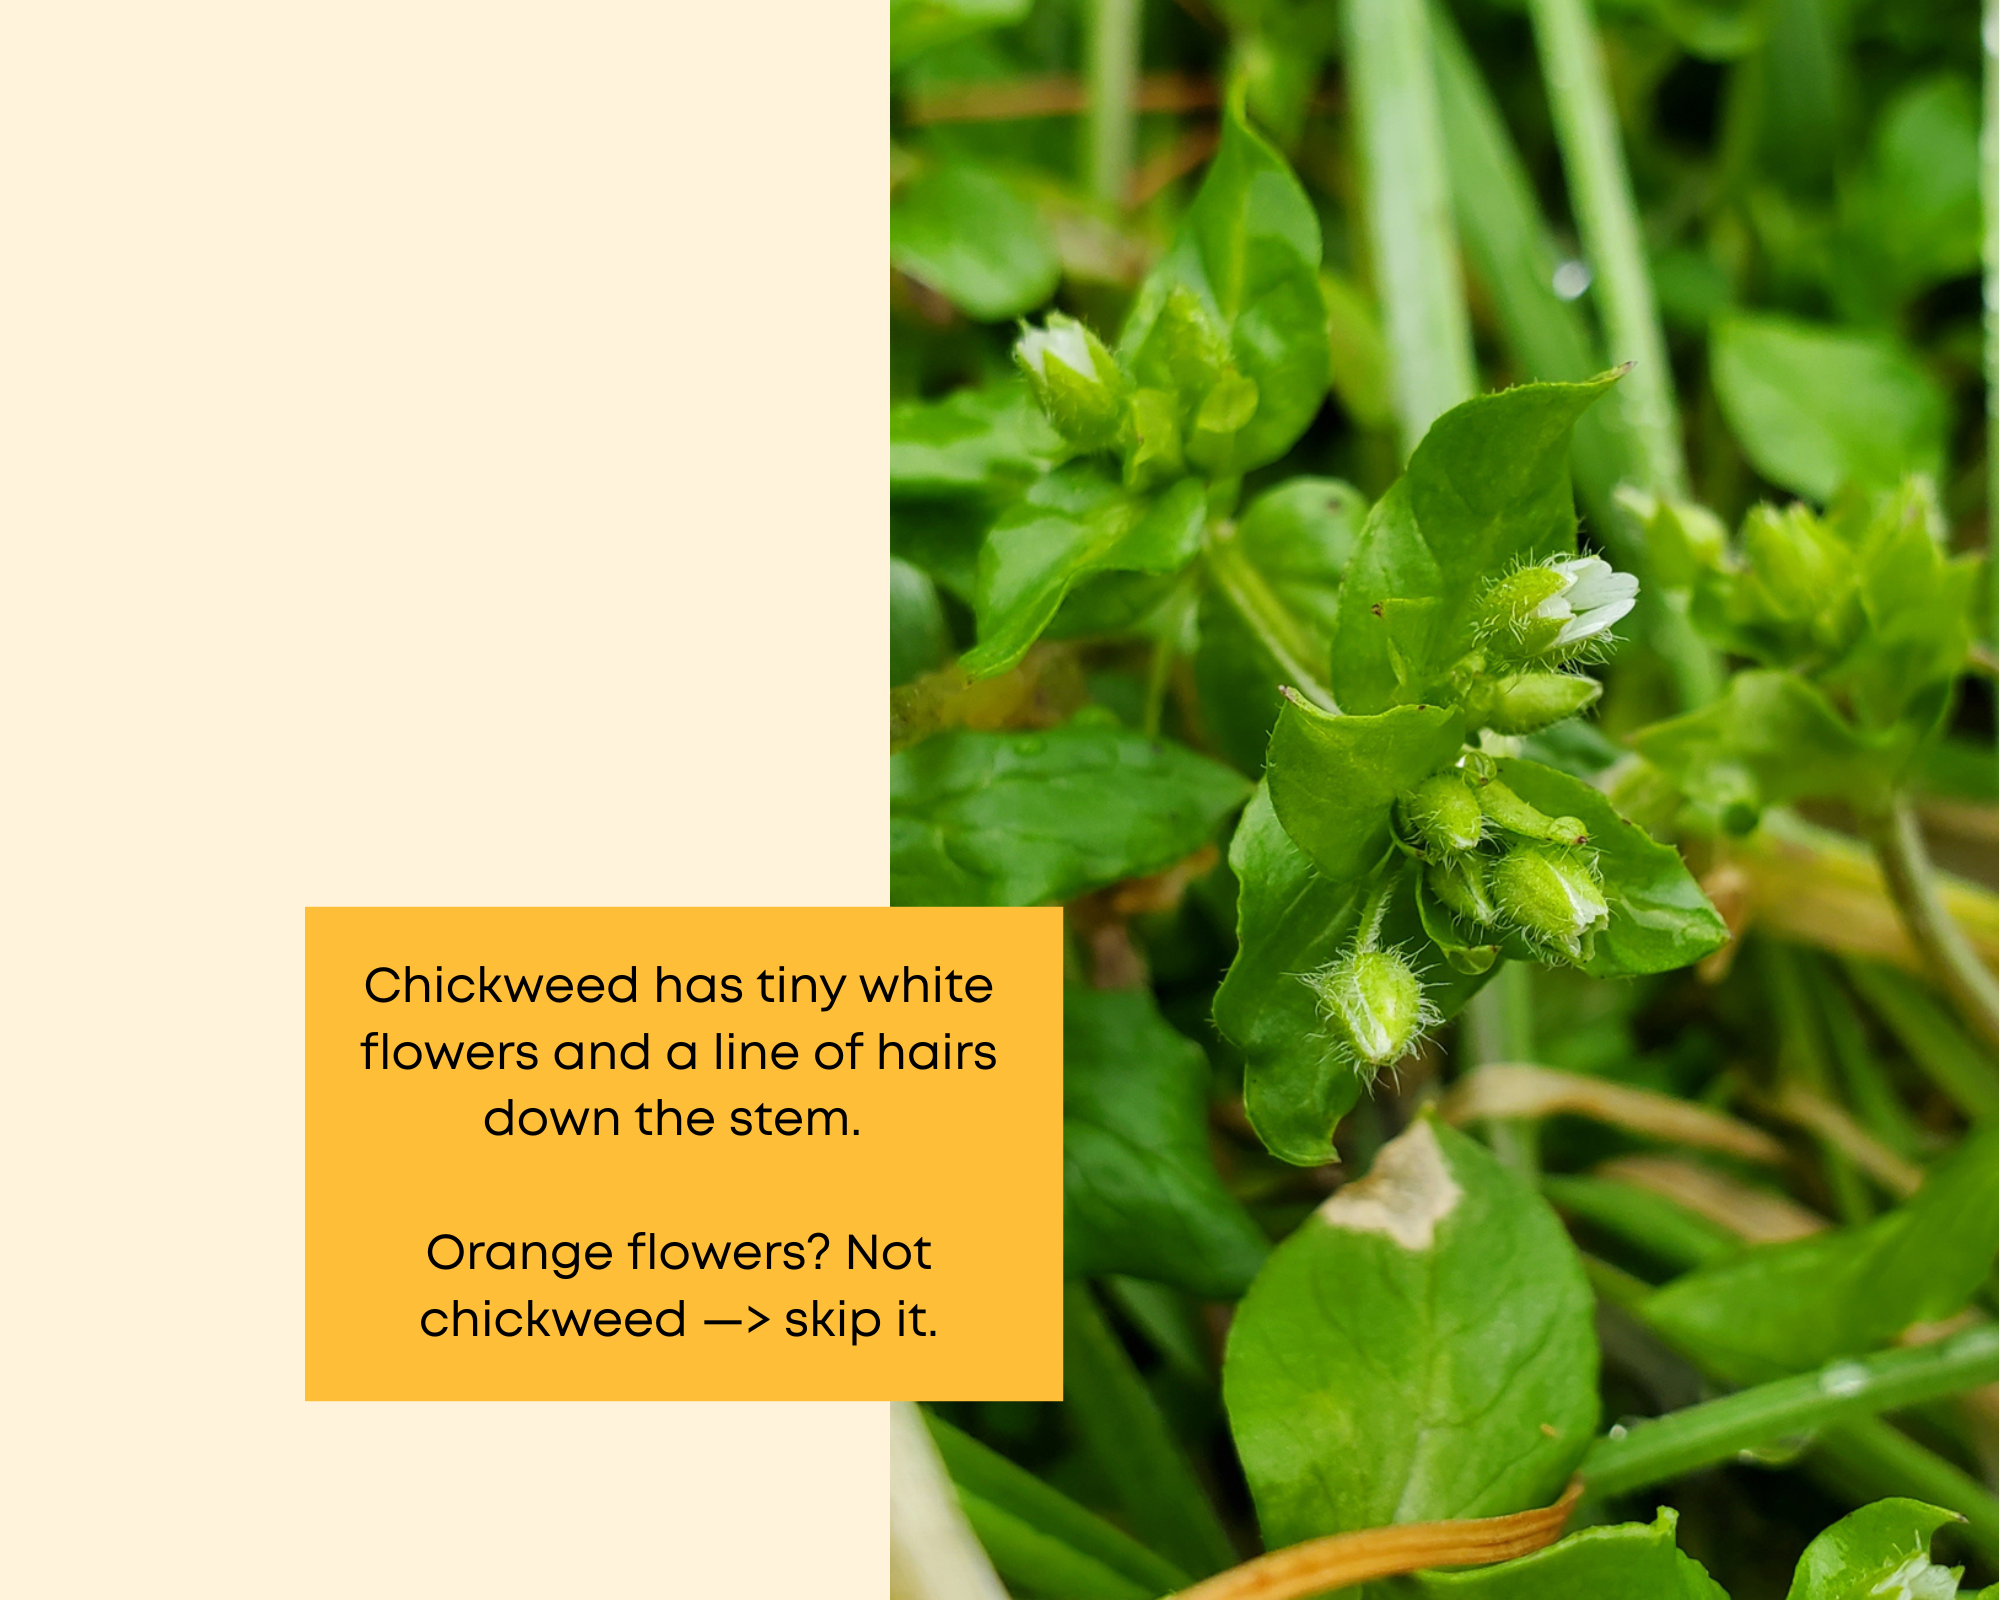
Photo credit: L. Verpillot
-
This month, our plant to forage is contributed by Loran Verpillot, medical herbalist at Herbal Culture.
Forage now:
Chickweed or kohukohu – Stellaria media.
Originally native to Europe and Asia, chickweed was introduced to Aotearoa New Zealand by European settlers and is now widespread throughout the country.
Chickweed thrives in damp, shady areas and grows particularly well during the cooler months. It is commonly found in vegetable gardens, along fences, and in other cultivated areas where it is often considered a weed!
The aerial parts of the plant (stems, leaves, and flowers) are edible and rich in vitamins and minerals. With its mild, spinach-like flavour, chickweed can be eaten fresh in salads or added to a pesto with herbs such as parsley, coriander, thyme, or rocket.
Key identification features: Chickweed has tiny white flowers. The stems are round and have a core within. Look also for a single line of fine hairs running down one side of the stem, swapping sides at each pair of leaves - this is a reliable way to confirm chickweed at any time of year, including before it flowers. The leaves grow in opposite pairs on short stalks. Be aware that there is a non-edible lookalike plant that has small orange flowers, making it easy to distinguish once in bloom, so the safest option is to pick the chickweed when it is flowering!
Traditionally, chickweed has been valued as a cooling herb. When applied externally, the fresh leaves can help soothe and cool irritated skin. Simply crush the leaves and apply them directly to the affected area.
And if you keep chickens, you can give them some chickweed, they will love it!
—
Food resilience is not only about what you grow or store. It is also about noticing what food already exists around you. Local foraging knowledge helps households identify seasonal wild foods, fruit trees, herbs, nuts, mushrooms and edible weeds in our landscape. Building this knowledge increases confidence, reduces waste, saves money and reconnects people with place.
Even learning a few safe, abundant species each season can meaningfully strengthen household food resilience.
Start small and safe:
Learn correct identification
Avoid sprayed or polluted areas
Take only what you need
Leave plenty for others and nature
Never eat wild plants or mushrooms unless identification is certain.
Resources:
If you are new to foraging, it is important to learn identification from trusted sources and local guides before eating any wild plant.
iNaturalist NZ (best overall for accuracy + community verification)
https://inaturalist.nz - Global platform with a strong NZ community of botanists and ecologists. You upload photos and get community-verified identifications.
Seek by iNaturalist (best beginner app)
https://www.inaturalist.org/pages/seek_app - Simple, camera-based ID app that works offline and is designed for quick identification in the field.
New Zealand foraging books:
Foraging New Zealand by Peter Langland
Edible weeds handbook by Andrew Crowe
The Forager’s Treasury by Johanna Knox
Central Otago Foraging Facebook page
Foraging walks are offered on a regular basis by some of our talented local herbalists such as:
Loran Verpillot from Herbal Culture (Upper Clutha)
Rochana Moon from Wise Moon Wellness (Upper Clutha)
-
Low cost gardening tips
Swap seeds
Share seeds (for example if you only need a handful of seed potatoes, share a whole bag with your friends/neighbours)
Grab a few seeds from your library! The Wānaka Library for example has a seed library - they only ask you to bring some seeds back at the end of the season for other people to use.
Ask your neighbours and friends to share perennial offcuts / clumps with you.
Collect compost materials
Share tools
Join community gardens
Join gardening clubs
Reuse materials creatively (keep in mind that you want non-toxic materials near the food you grow!): For example, look for pallets stamped HT (heat-treated) rather than MB (methyl bromide fumigated) - HT pallets are great for building raised garden beds. Many wineries and orchards regularly get rid of their old fruit nets - get in touch with them to see if they could give you some bits to re-use. Wastebusters has a 'garden' section where you can find treasures to reuse, plus secondhand pots, trays and tools worth a look.
Keep an eye on Facebook marketplace for deals or giveaways - cloche hoops, 100% wool carpet with a natural backing to suppress grass, seedling propagation equipment, irrigation material etc.
Use flattened cardboard as a free weed-suppressing layer under new garden beds
Learn about growing food successfully in our climate on Your Garden Coach podcast
Use winter well
Still true in August. Use winter to:
Identify sunny areas in your garden
Note frost zones in your garden
Plan bed locations (if you are postponing the bed building, or plan to create more later in the year)
Think about what your household actually eats
Source seeds early
Read up on gardening (read our previous blogs or see our book tips below)
Listen to Your Garden Coach older episodes, in preparation for the coming months.
-
Food resilience is not only gardening, it includes your household pantry.
In our previous editions, we recommended you start building staples for a few weeks — we suggest you keep adding to it until you have about 2-3 weeks worth of food for your household, including rice, pasta, salt, tinned beans and tinned tomatoes. This helps when fresh food is scarce, prices rise or shops are inconvenient.
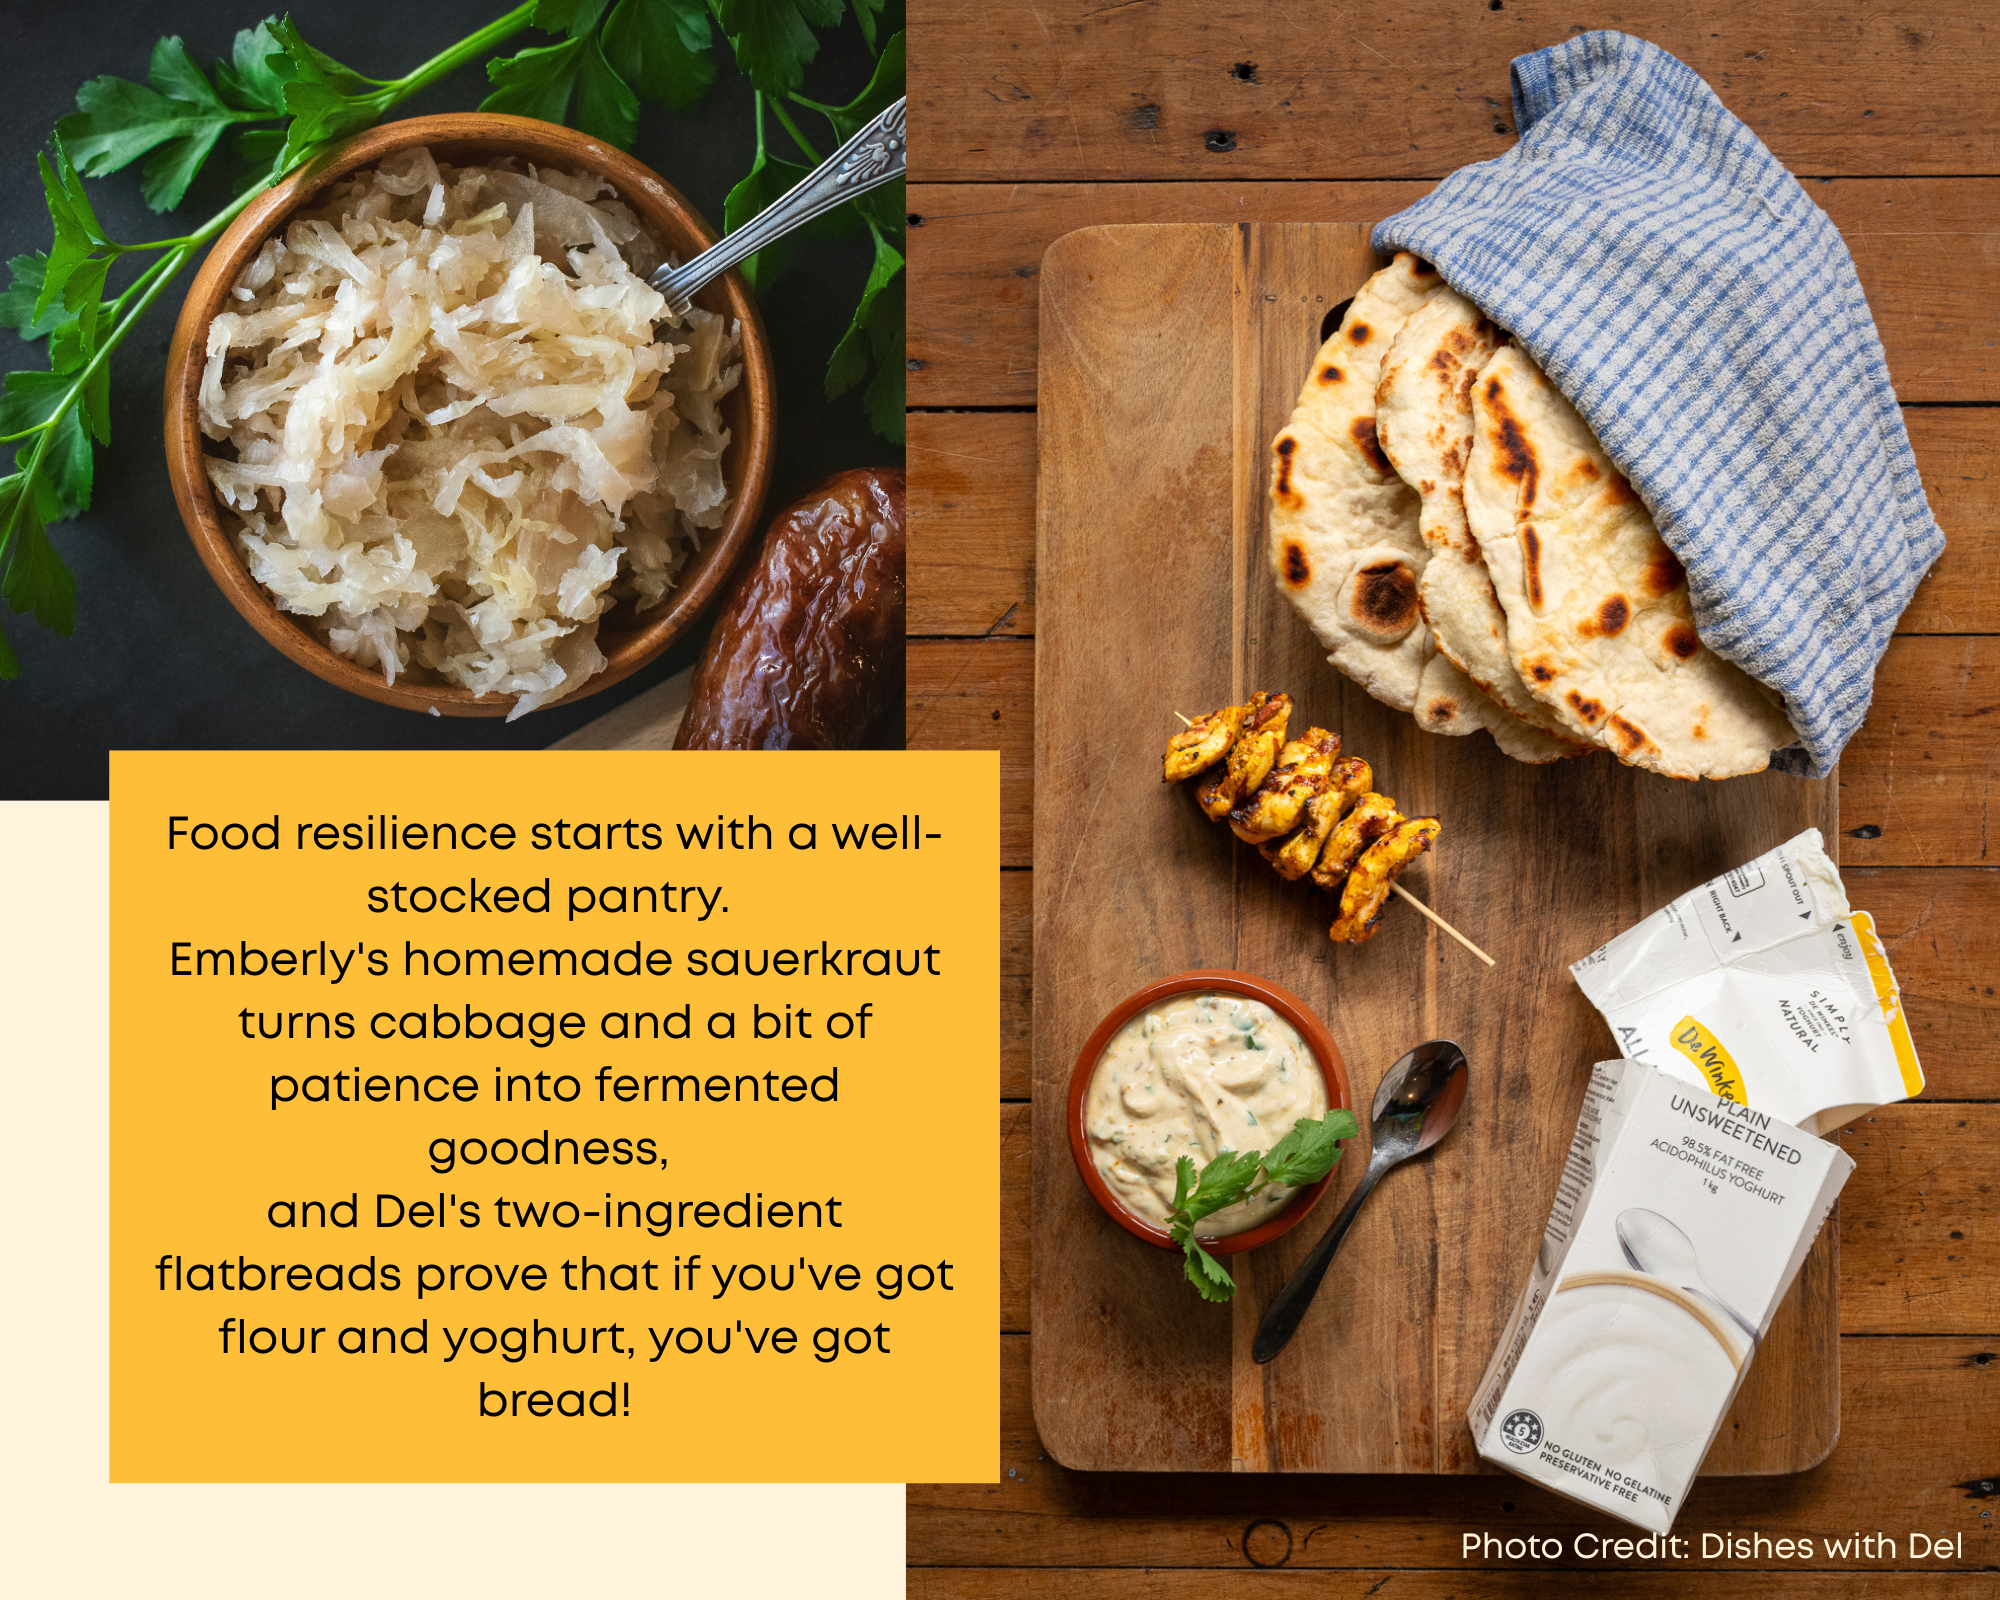
Making your own pantry staples is also an easy way to save on money and become more resilient, especially when you have a productive garden! Emberly from Grow Wānaka shares her Homemade Sauerkraut recipe for some fermented goodness.
And Del from Dishes with Del has an awesome flat bread recipe that she is sharing with us below.
Homemade Sauerkraut (and Kimkraut!)
Contributed by Emberly from Grow Wānaka Community Garden
I make two kinds each week - a classic sauerkraut and a kimkraut (my kimchi-inspired twist). Here's my method to the fermentation madness. 😁
Ingredients
1 big cabbage
Carrots
Daikon
Non-iodised fine salt (iodised salt can interfere with fermentation, so it's worth seeking out the non-iodised kind)
Fresh ginger, garlic and turmeric
Black pepper
Caraway seeds or cumin, whichever you prefer
For kimkraut, I swap the turmeric, black pepper and caraway/cumin for kimchi pepper (ask for this at the Asian market on Ardmore St). There's plenty of room to experiment too - fennel is another great addition.
Method
Sterilise your large Ball jars, clean your working space and wash your hands.
Cut the cabbage in half and remove the toughest part of the core.
Weigh the cabbage, then calculate 2-3% of that weight in salt - this ratio is what keeps your ferment safe and gives it that classic tang, so it's worth being fairly precise here rather than guessing.
Chop the cabbage as coarse or fine as you like - I usually go finer, as it helps draw out more liquid.
Place the chopped cabbage in a large container, add the salt, and massage it in with your hands until the salt is well combined and you can feel the moisture starting to release.
Let it sit for 6-8 hours to draw out more liquid.
While you wait, grate your carrots and daikon and add a small pinch of salt to help them release their own moisture too.
Finely chop your garlic, ginger and turmeric.
Once the cabbage is ready, mix all the ingredients together and pack them firmly into your jars as you go, making sure to press out any air pockets.
Only fill your jars to about 80% capacity, as the liquid will expand during fermentation.
Make sure there's enough liquid in each jar to fully cover the ingredients - this is important, as anything poking above the liquid is more likely to spoil.
Pop a lid on and place in the cupboard to ferment at room temperature.
Check daily for the first few days - you may need to briefly loosen the lid to release built-up gas ("burping" the jar), especially if it's fizzing or the lid feels tight. A little bubbling and fizzing is completely normal and means fermentation is happening.
After about 2 days, start tasting it, and once it's fermented to your liking (usually somewhere between 5 days and a few weeks, depending on how tangy you like it), move it to the fridge to slow the fermentation right down.
Save the leftover juice from the bottom of the jar to add to your next batch - it gives the next one a head start.
A note on troubleshooting: if you see fuzzy or coloured mould, that batch should be discarded, but a thin white film (kahm yeast) is usually harmless and can just be skimmed off.
Homemade Flatbreads
Contributed by Del from Dishes with Del
Two-Ingredient Flatbreads: flour and yoghurt. That’s it.
Del’s two-ingredient flatbread recipe is one of those things that, once you’ve made it, quietly changes how you shop. No trip to the store, no plastic packaging, no long list of preservatives and emulsifiers on the back of a packet - just two things you almost certainly already have in the cupboard, and about twenty minutes.
It’s a small skill, but it’s the kind that builds real resilience: the confidence that if you’ve got flour, you’ve got bread. And it’s cheaper too.
Del's 2-ingredient yoghurt flatbreads
Look out for:
Food preservation workshops
Cooking skills events
Waste reduction programmes
Wao Food Resilience calendar of events is a good place to start
Resources:
Dishes with Del (pantry and waste reduction tips)
Dig in with Del - follow Del’s journey as she transforms her garden into her pantry. From building garden beds and filling them with soil and compost, to choosing seeds and getting everything planted, join her through a series of fun, practical videos as she grows her own food from the ground up.
WānaKai Community Cooking Group - community kitchen session, every second Friday, 11:30am-1:30pm, Wānaka Community Hub. Free, booking essential: learn new cooking skills, make new friends!
-
Next month we’ll cover spring garden prep, planting out your seedlings, caring for fruit trees and berries, and deciding whether a tunnel house is right for you. We'll also cover which spring weeds to pull (and which to eat), plus a foraging feature on plantain and simple pantry condiments from kitchen scraps.
-
Ali Soper: seasonal gardening advice for our region: get seasonal gardening tips through Ali’s Your Garden Coach podcastand consultations. Sign up to her newsletter to receive practical advice delivered straight to your inbox.If you’d like to join one of Ali’s monthly Garden Conversations groups, email her at coach@yourgardencoach.nz. Ali runs three different groups, with koha appreciated.
Erin Allison Harvest Homegrown: market garden, gardening guides and home veggie garden courses/workshops(Hawea Flat, Wanaka) (on Facebook)
Local workshops: Harvest Homegrown holds a range of veggie growing workshops throughout the growing season.
Erin from Harvest Homegrown also offers these localised growing PDF guides for a small fee ($9 to $12 each):
Interplanting for high yields and healthy soil, including planting plans: https://stan.store/harvesthomegrown/p/interplanting-for-high-yields--healthy-soil (this PDF guide briefly mentions how much to grow of each plan for household sizes also).
Growing from Seed: https://stan.store/harvesthomegrown/p/growing-from-seed
Planning an efficient garden: https://stan.store/harvesthomegrown/p/planning-an-efficient-garden
Printable Veggie Garden Journal: https://stan.store/harvesthomegrown/p/printable-veggie-garden-journal
Dr Compost: composting made easy as well as gardening education: online info and in-person workshops available in Upper Clutha and Whakatipu.
Community gardens: Grow Wanaka, Hawea Food Forest, The Templeton Park Community Orchard (Albert Town Wānaka),and Queenstown Community Gardenworking bees.
The Wanaka Vegetable Growers Club meets the first Wednesday of the month (apart from June and July) at St John's Rooms Linkway Wanaka at 7pm.
The Hāwea Garden Group is an informal gathering for people interested in all aspects of gardening.
Activities include garden visits, guest speakers, and hands-on workshops.
Free to join, and you’re welcome to attend whenever it suits.
Meets every second Thursday from 20 August (starting with a seed swap and seed raising session) through to 19 November.
For more information, contact Diana at mansondiana@gmail.com
Foraging walks are offered on a regular basis by some of our talented local herbalists such as:
Loran Verpillot from Herbal Culture (Upper Clutha)
Rochana Moon from Wise Moon Wellness (Upper Clutha)
-
Most of the following books are available at the Libraries and can be borrowed for free :)Home / small scale regenerative growing:
The Edible Backyard by Kath Irvine (NZ). Excellent for practical, year round home food production in New Zealand conditions, with a strong focus on seasonal growing, resilience, and low input systems. She takes a very holistic approach and the advice is applicable to a wide range of zones. It is focused on getting the foundations right, with simple explanations and practical, reader friendly guidance.
Square Food Gardening 4th Edition. This is a book that often resonates with new gardeners with small spaces to grow food. There is a metric version too (One Square Meter garden)
The Abundant Garden by Nova and Yotam Kay (NZ). Excellent for productive household food systems, abundance, seasonality, and low input methods.
NZ Gardener Magazine is a great resource too.
Our libraries have plenty of books and magazines about gardening!
For hyper-localised resources, we recommend:
Harvest Homegrown’s localised growing PDF guides (from $9 to $12 each):
Interplanting for high yields and healthy soil, including planting plans:https://stan.store/harvesthomegrown/p/interplanting-for-high-yields--healthy-soil(this PDF guide briefly mentions how much to grow of each plan for household sizes also).
Growing from Seed: https://stan.store/harvesthomegrown/p/growing-from-seed
Planning an efficient garden: https://stan.store/harvesthomegrown/p/planning-an-efficient-garden
Printable Veggie Garden Journal: https://stan.store/harvesthomegrown/p/printable-veggie-garden-journal
Seed sovereignty / resilience:
Koanga Institute resources and publications (NZ): Save Your Own Seeds
Foraging:
Foraging New Zealand by Peter Langland
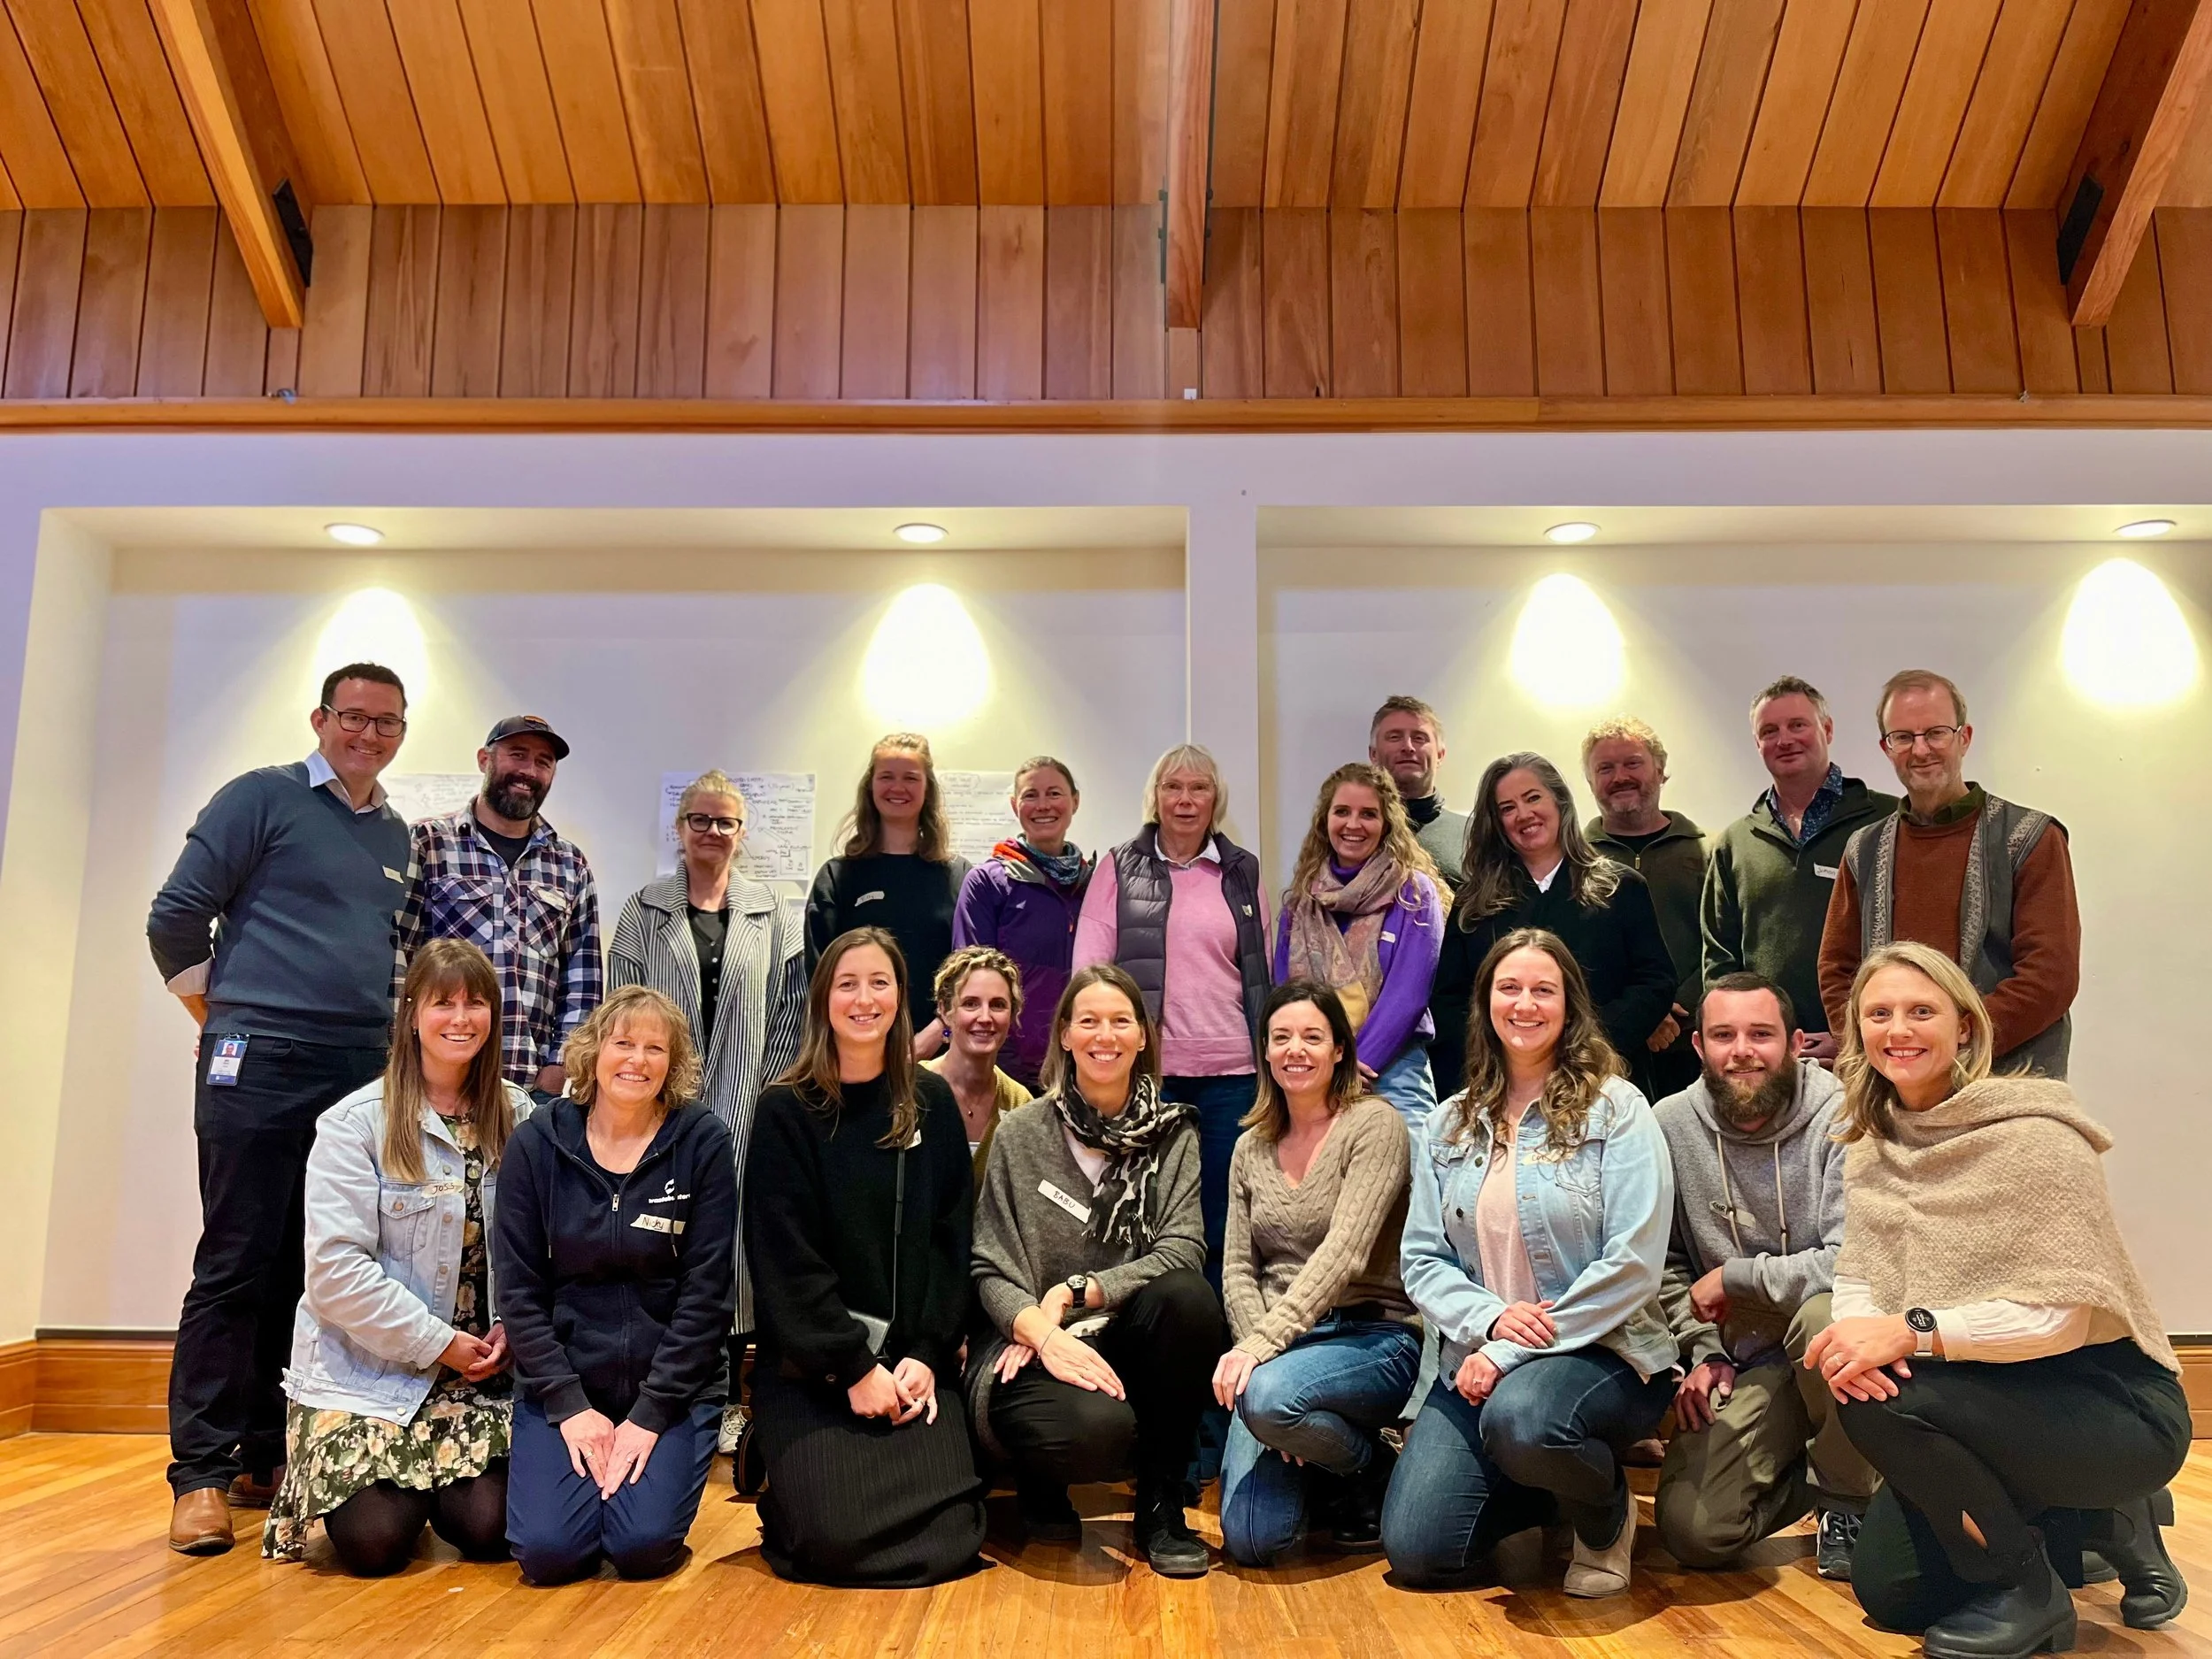
The Southern Lakes Kai Collective at its inception in September 2024. It has since grown to 49 members from across the district and the wider food ecosystem.
-
The Southern Lakes Kai Collective is a think tank focused on increasing the district’s food resilience. The food growers generously contributing their time and knowledge to this gardening blog are:
Adele (Del) Holland - Dishes with Del : recipes, food preserving, avoiding food waste
Ali Soper - Your Garden Coach : podcast & food garden consultations
Ben Elms - Dr.Compost (Wastebusters): compost systems, soil health, gardening workshops, etc.
Brendan Lopez - Welcome Rock Gardens (bio intensive market garden)
Bruce Thurlow - Otago Polytechnic
Diana Manson - Hawea Food Forest : Community Garden
Emberly Wetherall - Grow Wānaka : Community Garden
Erin Allison -harvesthomegrown.co.nz : Homegrown organic produce and seasonal Veggie Growing Workshops for home gardeners.
Louise Wilson - Forager & home gardener
Loran Verpillot - Herbal Culture: Medical Herbalist, forager & home gardener / orchardist
Michael Sly - Waste to Wilderness: composting and microbial soil systems
Mikey Dahlstrom - Millbrook resort food garden
Neal McAloon - Queenstown Harvest Community Garden and Bee The Change
Sydney Telfer - Aspiring market gardener / regenerative agriculture
Theo Richard - The Sherwood restaurant food gardens
-
We welcome your feedback and invite you to use this form to share your thoughts, ideas, and suggestions
More about the Southern Lakes Kai Collective mahi here.