
Growing Food in Southern Lakes - June Edition: build a compost, improve your soil, plant garlic.
Growing food in the Southern Lakes just got easier. Fifteen local growers are teaming up to share what actually works in our climate, helping beginners get started with confidence.
Whether you are renting, working with pots or planter boxes, or have access to a small patch of land, now is the time to begin. This new monthly blog brings together practical, seasonal knowledge from across the region to help households grow food, forage, and build up their pantry for the year ahead. Each edition will offer clear, usable guidance for different growing spaces, from a single pot or sunny windowsill through to a productive garden bed.
As we head into winter, this month’s focus is on building a compost, improving your soil and planting garlic.
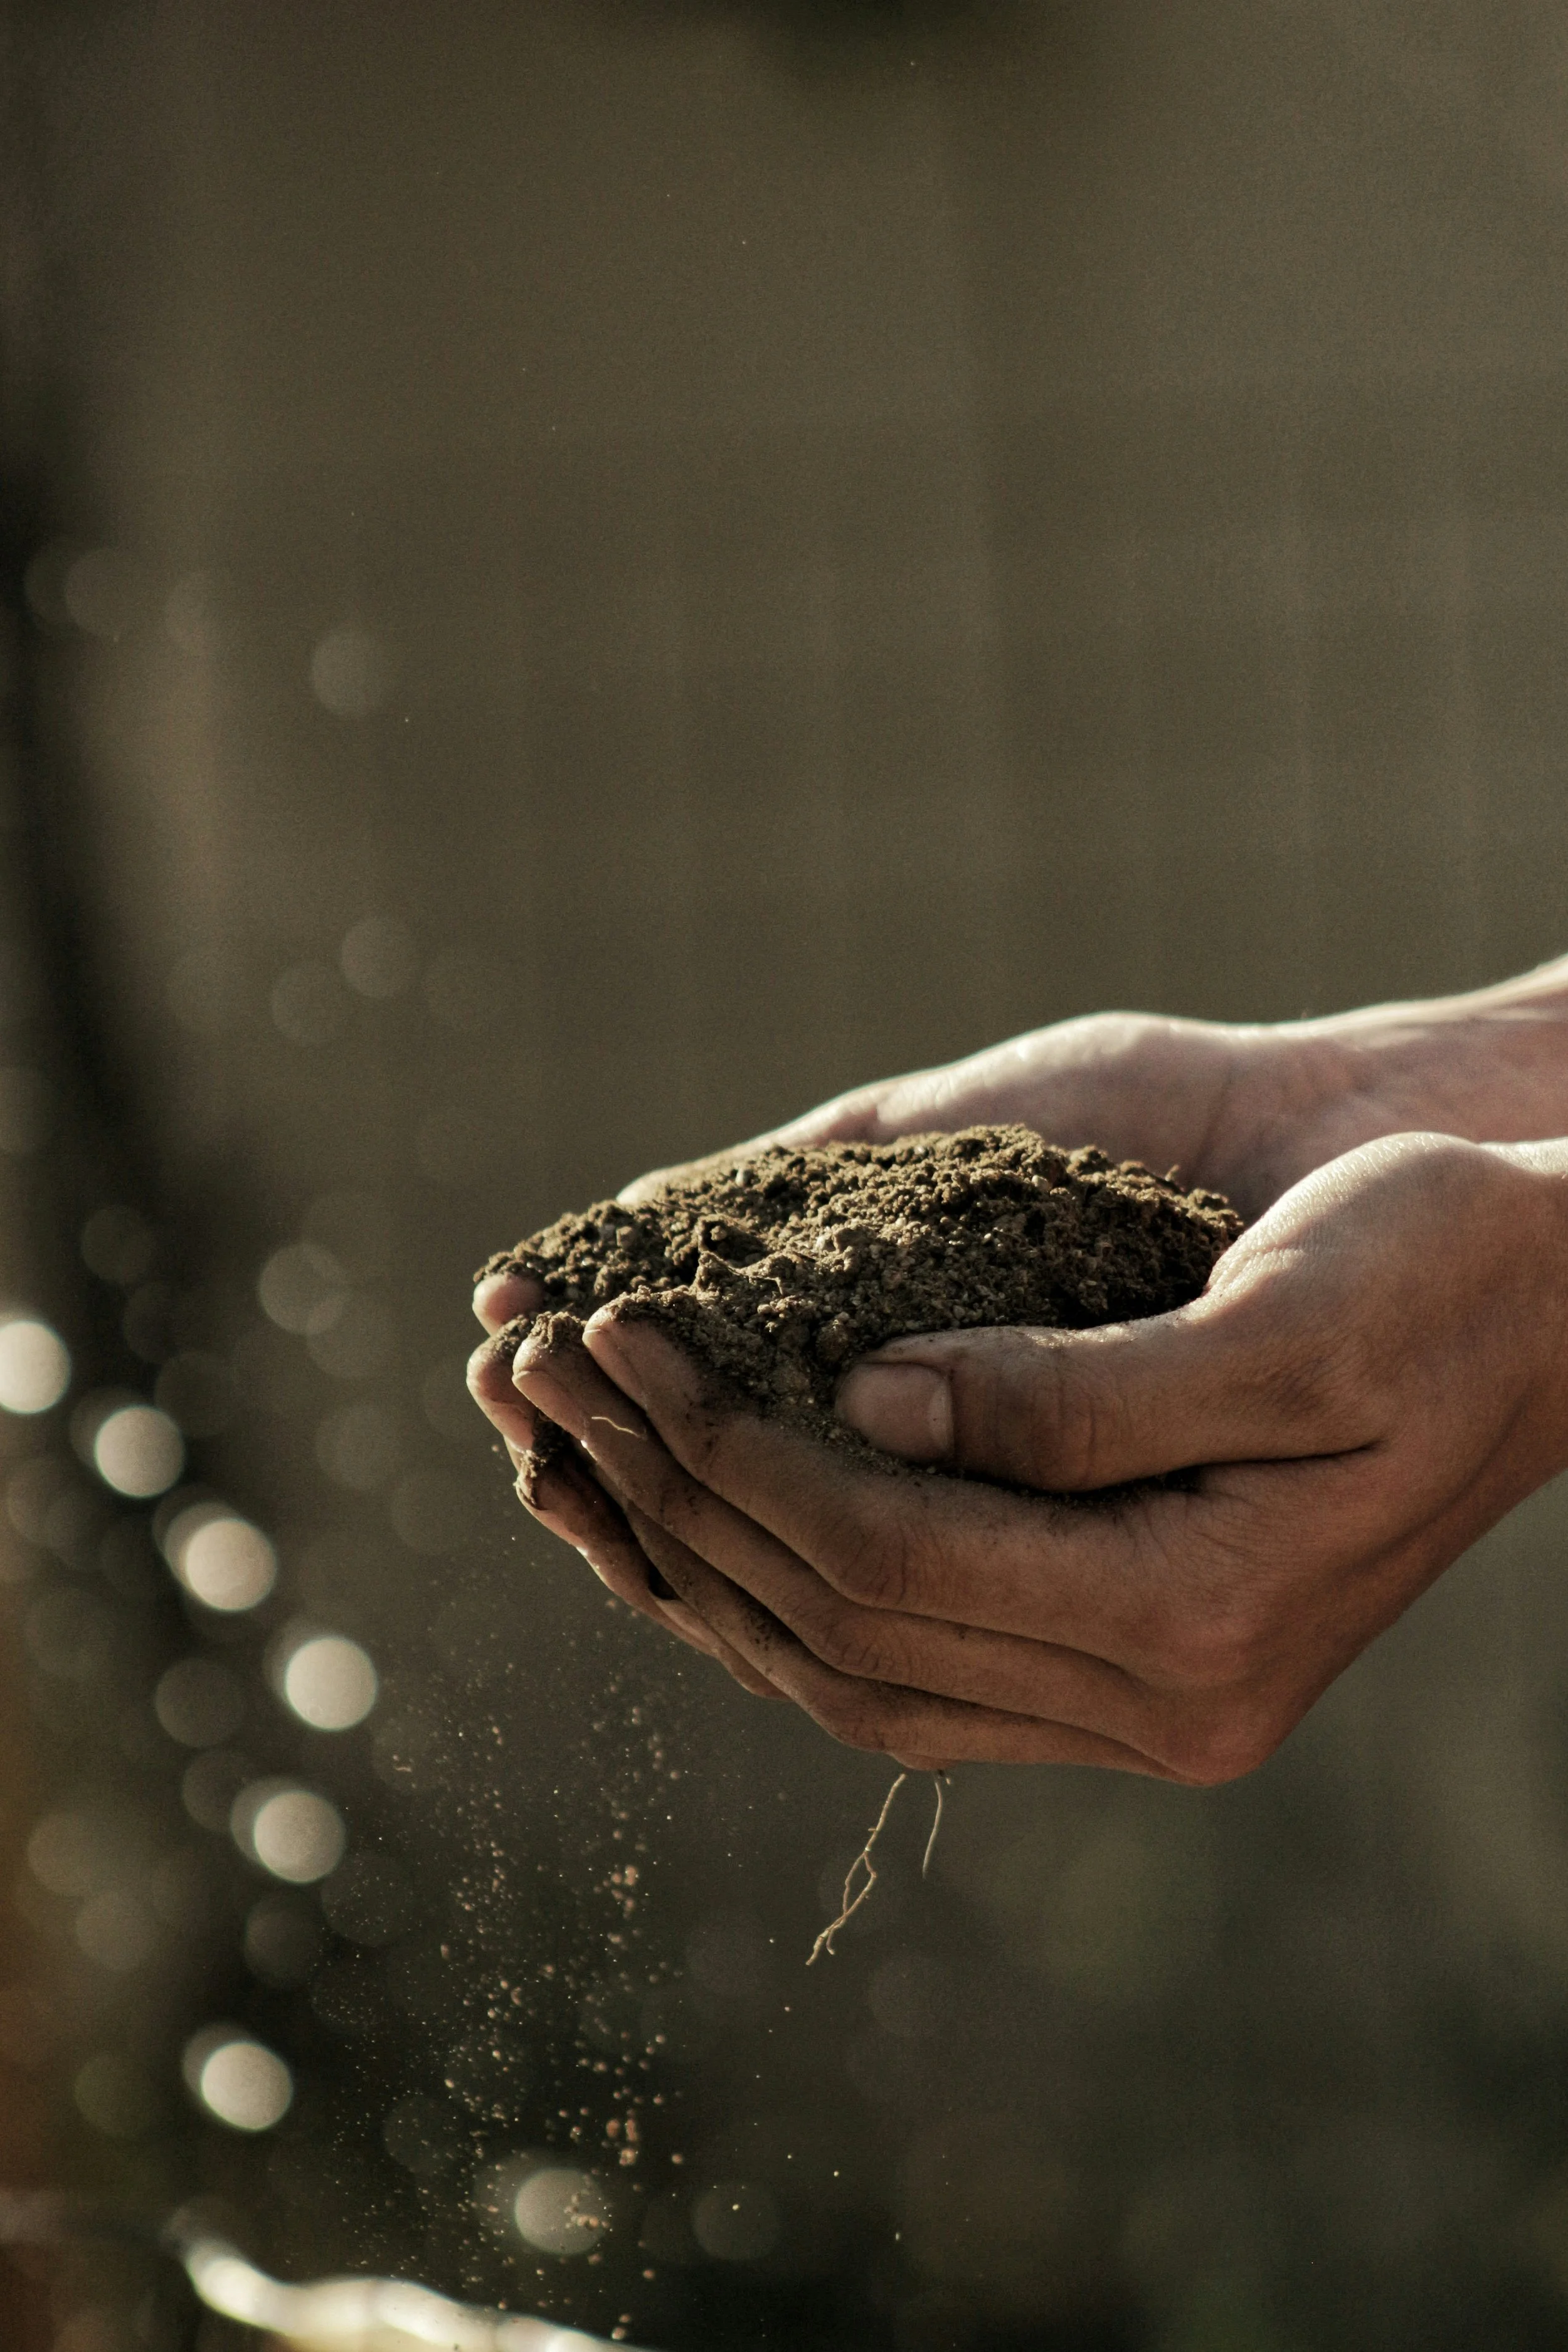
Healthy soil is key to nutrient rich food and reliable crops.
Brought to you by the Southern Lakes Kai Collective
〰️
Brought to you by the Southern Lakes Kai Collective 〰️
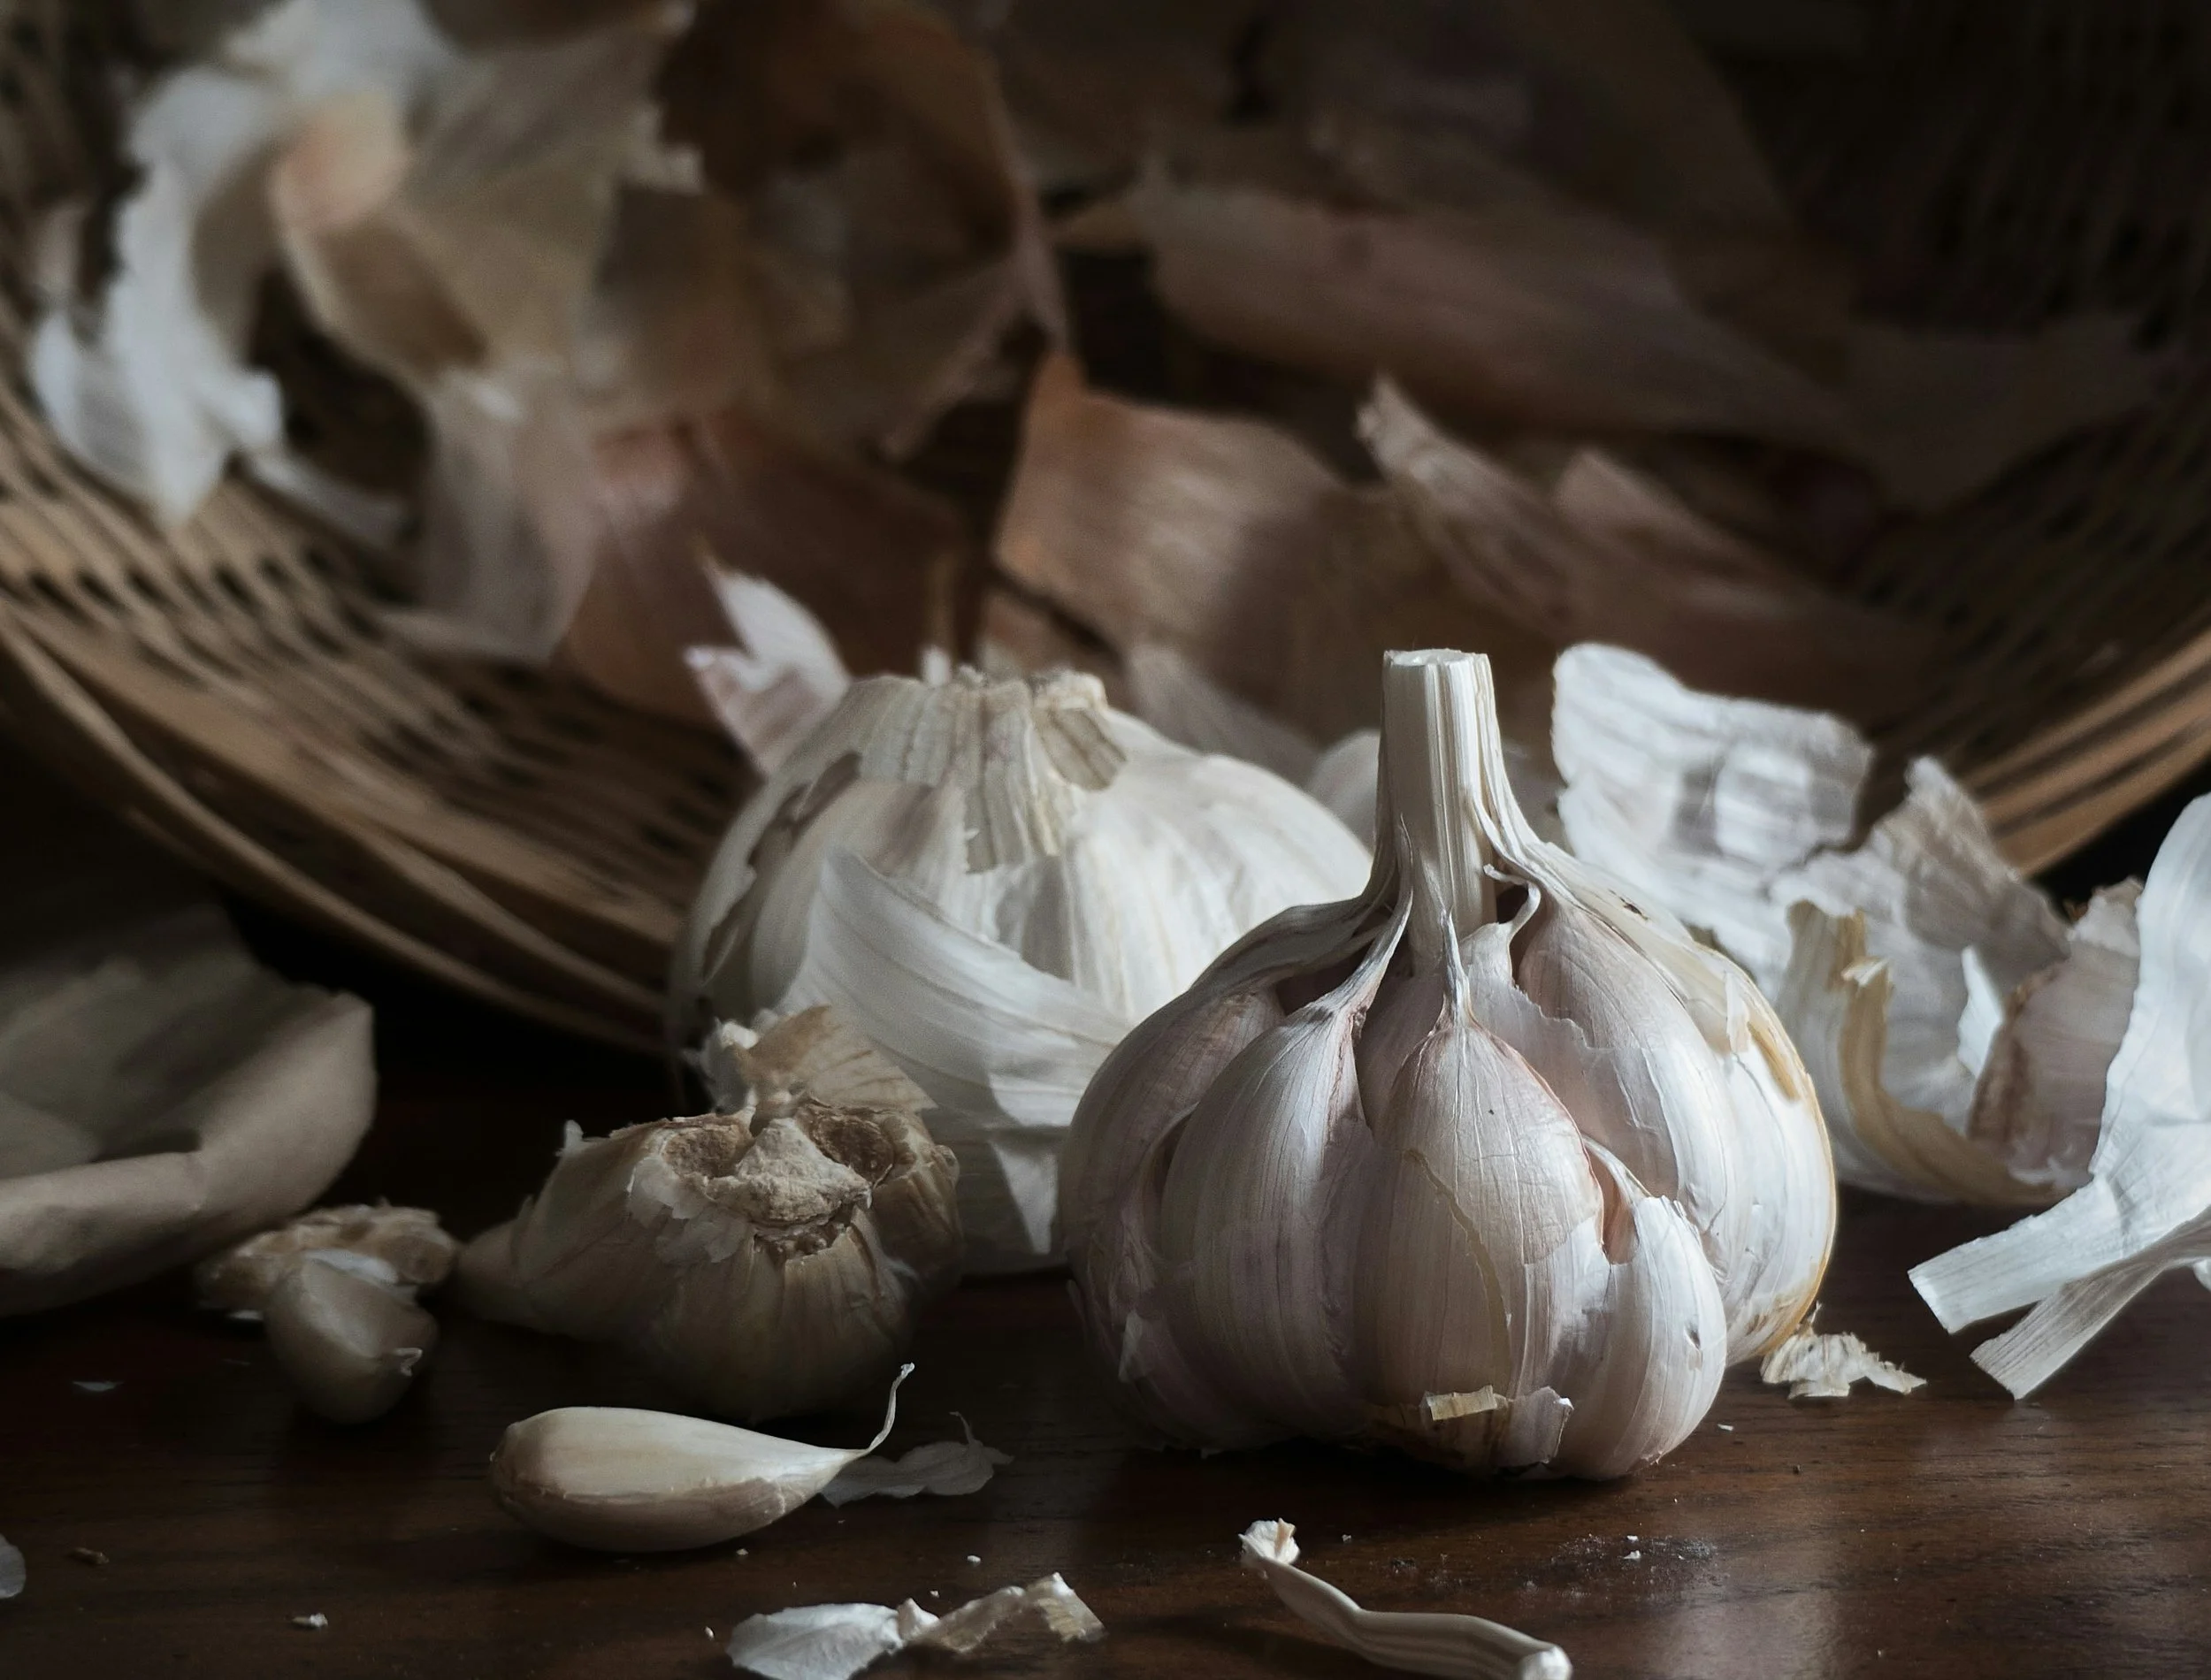
Easy to grow, low effort to maintain, and packed with flavour and health benefits, garlic is a garden essential.
Your June challenge!
Choose one… or more!
Setup a compost!
Build one garden bed or one veggie pot and feed your soil
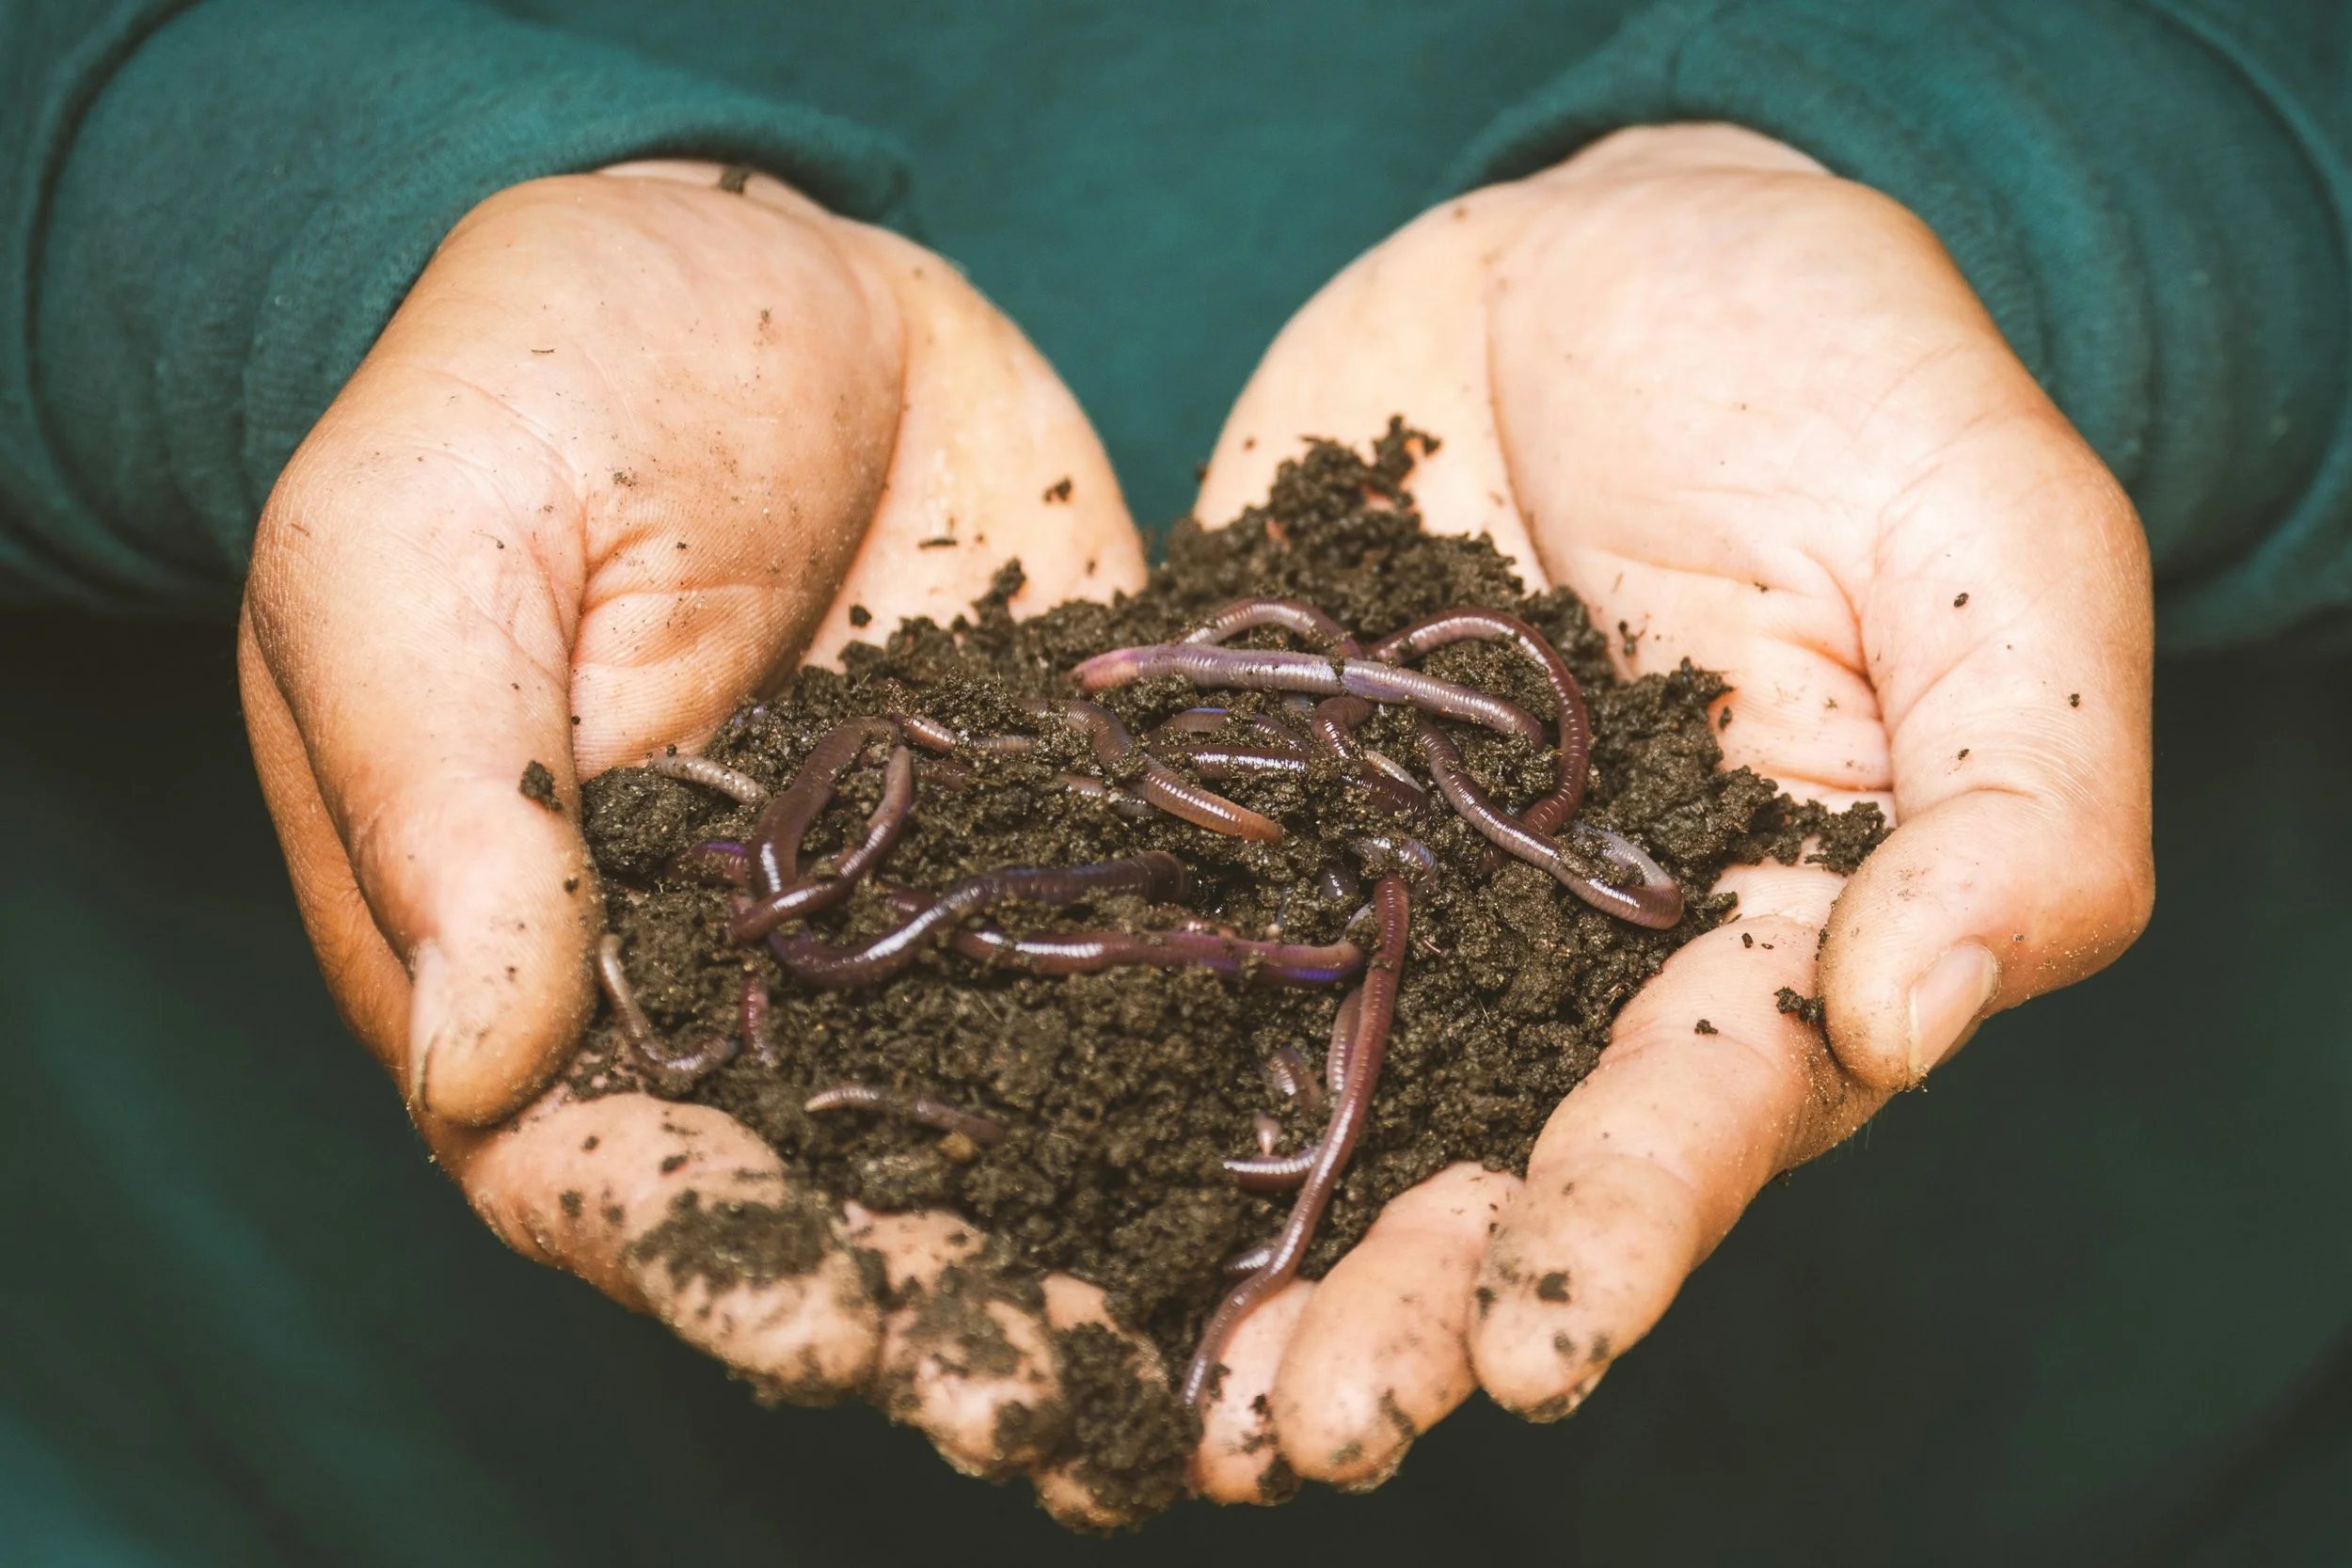
Do a worm count ;)
Plant garlic
Order seeds
Make your own fruit vinegar (easy!)
Attend the Wao Green Drinks on June 17: Growing Local Food Networks
-
Contributed by Ben Elms, AKA Dr. Compost.
Start building soil (and saving $) now by making your own compost!
Is composting a dark art or is it as easy as chucking your food scraps into a compost bin and letting nature take its course? It almost is. Stay tuned and we're going to share 2 easy techniques to get you started on this journey.
As with everything there are many ways to compost: hot, cold, worm farms, tumblers, earth makers, bokashi, aerobin, dehydrators to name some of what's out there. They all have a place, your job is to find what's easy for you. Which system floats your boat, which technique you're happy to rinse and repeat on a weekly basis.
It can be great to get yourself a mentor, a friend, a work colleague, join a garden club or tap into some family members' wisdom. Feel free on this journey to reach out to Dr Compost for any problem-solving. He's easily found onsocials. Drop him a message.
So you want to start composting and you're not sure where to start. We are going to cover 2 easy beginner systems that will deal with your food scraps every few days. These systems use all your food scraps including cooked and raw food scraps, meat, fish bones and citrus. If it comes out of the kitchen these systems can deal with it.
Compost is not just waste breaking down. It is a living biological process that needs air, moisture, carbon, nitrogen, and time to work properly. Compost works best when food scraps are mixed with carbon material and not left in 'clumps'.
1. Dig a hole
It sounds too easy and it is that easy. Dig a hole in your veggie garden, around fruit trees, natives, ornamentals, flowers anywhere you can dig a hole.
Gather your food scraps in some kind of compost caddy. I like square tip top ice cream containers. Every 2–3 days drop the food scraps into the hole and cover with 10–20cm of soil. Repeat.
To make things a little easier you can prep a trench 30cm deep and 1m plus long. Start at one end adding your scraps and covering as you go. Once the trench is all covered up, start again in a new spot.
Want to level up? add the same amount of leaves or woodchips into the hole with the food scraps that you bury.
Composters love carbon-rich ingredients in every composting system. Carbon rich ingredients include leaves, woodchips and straw. You can also use virgin brown shredded cardboard.
Key rule: Compost works best when carbon (browns) and nitrogen (food scraps) are kept in balance, rather than one dominating the mix. A simple guide is about 1–2 buckets of carbon to 1 bucket of food waste. If carbon is hard to source, a 1:1 mix will still work, though adding extra carbon where possible will help keep the pile healthier and reduce smells.
Let nature do its bit. You’ve done your work there's nothing else to do. We're not digging anything up at a later date. The food scraps break down feeding your future vegetables and surrounding plants.
2. The Black Compost Bin or wooden pallet compost bay
Fill the bin halfway with autumn leaves.
With the same compost caddy as above every 2–3 days come along and bury the contents deep into the leaves.
Once a week get a garden fork and mix the leaves and scraps up and give it a good watering especially around the edges. Water is our friend. Dry compost means no composting is happening.
Starting to look like you've got more vegetable scraps than leaves? Fill up the bin again with leaves you've stored. Or refer to other carbon rich ingredients listed above.
Then continue adding your food scraps again.
To level up this system, grab a handful of compost worms from a friend and pop them into the compost bin. They will become your little helpers speeding everything up.
Repeat until your bin is completely chokka, then let it rest. You can either lift up the compost bin and start again on the side, or start fresh with a second unit or wooden pallet bay. If lifting, cover the exposed heap with old hessian sacks or old black builder's plastic to retain moisture and protect it from drying out. Natural materials are often preferred where available, but reused plastic can also be useful as a temporary cover. Remember to keep watering during the summer months.
Keep the pile loose and airy. Air spaces are where the biology does its work. If it gets compacted, decomposition slows right down.
How do I know it’s ready to use? When everything is broken down and unrecognisable from the original ingredients. Then use it around your veggie garden and beyond.
Examples of plastic compost bins: 240l and 400l.
3. Which system to choose?
Dig a hole method:
Best if you want a simple, no-fuss way to deal with food scraps directly in the garden. You simply dig a hole or trench and bury food scraps as you go. This works well next to veggie beds, fruit trees, or future growing areas, where the soil is being gradually improved in place.This is ideal if you don’t have a dedicated composting area and are happy for composting to happen directly in the ground where you are growing.
Black compost bin / pallet bay:
Best if you have space for a dedicated composting area. You can build a simple system using untreated pallets or use a purchased compost bin.In this system, composting happens separately from your garden beds. You build and manage the compost pile, then add the finished compost back into your garden once it is ready.
Happy composting!
____________________
COMPOST CHEAT SHEET
What compost needs
Air
Moisture
Nitrogen (greens)
Carbon (browns)
Time
It is a living biological system, not just rotting waste.
Basic rule
1 part food scraps ('greens')
2 parts carbon ('browns')
Good materials
Greens: Food scraps (veg, cooked food, meat, bones, citrus), fresh garden waste, grass clippings (only if you are confident no persistent herbicides have been used)
Browns: Leaves, straw, woodchip, shredded cardboard.
Avoid problems
Too much food in one clump
Compost that is too wet or too dry
Compacted piles with no air
Simple fix for most problems
Add more carbon (browns)
Fluff or loosen the pile
Signs it’s working
Earthy smell
Warmth or steady breakdown
No visible food scraps over time
Signs it’s not working
Bad smell
Slimy texture
Nothing breaking down
Golden rule
Keep it mixed, keep it airy, keep it balanced.
When is it ready?
Finished compost is dark, crumbly, smells earthy, and you can no longer recognise the original food scraps.
Learn how to use your compost below in section B on soil.
____________________
Resources:
Dr Compost guides and workshops:
https://www.wastebusters.co.nz/dr-compost/composting-guides/
https://www.facebook.com/doctorcompost/Lots of recent posts about how to make a compost, how to use all those autumn leaves, etc.
Bokashi guide: https://www.wastebusters.co.nz/wp-content/uploads/2020/08/Dr_compost_bokashi_may2020_A4_web.pdf
____________________
Alternative soil & compost sources:
if your compost isn’t ready to use and you want to get a bed ready for spring, you may need to source some compost elsewhere:
Compost and topsoil from Mitre 10 or local suppliers
Mushroom compost and topsoil from Upper Clutha Transport (bring a trailer or buckets)
Green waste materials:
Wanaka Greenwaste and Landscaping Supplies
Location: Ballantyne Road (next to Wastebusters)
Hours: Monday - Sunday 10.00am - 3.00pm
Contact: 027 476 6034
Mulch, compost, bark and most landscaping supplies.
A few bags available. Or bring your trailer. Courtesy trailer available.
Community Greenwaste stations
Check your local community station for mulch sales
https://www.qldc.govt.nz/community/community-associations-and-groups
In Queenstown you can order compost from the good people at Waste to Wilderness
And/or get ready to make your own: Stock pile - leaves, grass clippings, small branches, animal bedding, larger garden waste that can’t be left on the bed to compost. Think about manure sources - can you access animal manure for free? Keep in mind that some animals may be drenched/medicated - Sheep poo, cow poo, chicken coop bedding, rabbit poo! Horse poo is abundant but must be heat treated first to avoid weeds transferring to your garden.
SeaCliff has some fabulous organic supplements. Use the SeaCliff Organics seed-raising mix sparingly only where your vegetable are being planted to save money while supporting plant growth.
-
With thanks to Michael Sly from Waste to Wilderness for reviewing this guide.
1. What soil is and why it matters
Soil is not just dirt. It is the foundation of all plant growth.
Healthy soil produces stronger plants, better food, and reduces the need for watering and fertiliser. In a small garden or a few pots, improving soil is the single most important thing you can do.
Soil is a living system made up of:
Mineral particles (sand, silt, clay)
Organic matter (decomposed plants and compost)
Air spaces
Living organisms (bacteria, fungi, worms, insects)
Soil only functions properly when all of these are present and balanced.
Good soil is:
Dark and crumbly
Moist but not waterlogged
Able to hold structure without compacting
The key indicator is balance: not too dry, not too wet, not too dense.
Simple soil checks: you can understand your soil with basic observations:
Smell test: earthy smell is good, sour is not
Squeeze test: sticky indicates clay, crumbly indicates sand
Worms: presence usually means healthy biology
Drainage: water should soak in, not pool on the surface
In natural systems like forests, most soil fertility builds from the top down. Leaves, wood, and organic matter accumulate on the surface and slowly break down into soil over time.
2. Soil types & conditions in the Southern Lakes
Most local soils fall into a few broad types:
Clay soils: heavy, slow draining, nutrient rich but easily compacted
Sandy soils: free draining, dry out quickly, low in organic matter
Stony or alpine soils: thin, dry, and low in organic matter
All soils can be improved with organic matter and good management.
In this region:
Winter slows soil life but helps protect structure
Frost and thaw cycles help break down surface organic matter
Summer dryness reduces soil activity, making mulch essential
Timing matters. Compost and mulch are most effective when applied ahead of seasonal stress.
3. Common problems in small gardens
In the Southern Lakes region, compaction (from vehicles and foot traffic) and exposure to drying conditions such as wind and sun are two of the biggest challenges for home gardens.
Most beginner issues come from:
Compaction from walking on beds or heavy soils
Bare soil exposed to wind and sun
Poor drainage or overly dry soil
Over-digging, which disrupts soil structure and life
A simple rule applies: soil should stay covered and minimally disturbed where possible.
4. How to improve soil (the essentials)
You do not need complex systems. Focus on a few simple habits done consistently.
Add compost (see the section above on how to start your own compost)
Apply a layer about 2 to 5 cm deep over garden beds.
Do this 1 to 2 times per year, ideally in autumn and spring.
For pots, mix in a small handful or top up with 1 to 2 cm every 2 to 3 months during the growing season.Mulch the soil surface
Cover soil with 5 to 10 cm of mulch such as straw, leaves, woodchip, or untreated garden waste.
Reapply once a year, or top up whenever bare soil starts to appear.
In dry summer conditions, check monthly and top up if it is breaking down quickly.Keep soil covered
Avoid leaving soil bare for more than a few weeks. Even a light covering protects soil life.Minimise digging
Only dig when necessary for planting. Most soil improvement happens from the surface down.Keep living roots in the soil
When beds are empty, use cover crops or maintain mulch rather than leaving soil exposed.
In many home gardens, soil is best thought of as a foundation layer rather than the main growing medium. Productive gardens are often built upwards using compost and organic layers rather than relying on the existing soil alone (a no-dig approach).
5. Key take-home messages
Soil is alive
Feed it with organic matter regularly throughout the whole growing season
Avoid compaction and unnecessary digging
Improvement happens gradually over time
Keep it moist, to be "alive” soil requires moisture
Even poor soil can become productive within a few seasons with consistent care.
6. Add-on: Simple potting mix for small gardens
If you are growing good in pots, planter boxes or small raised containers, a basic homemade potting mix can work very well for herbs, leafy greens, and vegetables.
A simple mix is:
1 part compost (for nutrients and biology)
1 part topsoil (for structure and minerals) stones and weeds removed
1 part drainage material such as coarse sand, fine bark, perlite or pumice.
This combination helps the mix hold moisture while still draining well, which is important in containers where roots cannot search deeper for water or nutrients.
If the mix feels too heavy and stays wet, add more drainage material. If it dries out too quickly, add more compost.
Refresh potting mix each season, or top it up with fresh compost during the growing period to keep plants productive.
A few more tips if you plan to grow food in pots:
Always use containers with drainage holes in the bottom to prevent root rot.
Bigger pots help prevent drying out too quickly and give roots more space to grow.
Watering rule: stick your finger into the soil about 2 cm. Only water if it feels dry.
Most plants need at least 6 hours of sun, so place your pots in a suitable spot.
Good soil is dark and crumbly, moist but not waterlogged, full of worms and visible life, and able to hold its structure without compacting, with the key indicator being balance: not too dry, not too wet, and not too dense.
-
Contributed by Erin at Harvest Homegrown.
Outdoors
This month is a good time to get your garlic in the ground if you haven’t already, along with strawberries and broad beans.
Apart from these, we advise holding off on most outdoor planting until the beginning of August, as low daylight hours mean there is very little active growth through this period. Waiting a little longer will give your spring crops a stronger and more reliable start.
Garlic Growing: Planting garlic as early as possible in winter means it can grow an abundance of roots before it shoots in early spring. More roots means the plants can feed themselves better and you will have larger and healthier bulbs. Plant the biggest cloves of garlic saved from the previous season, gifted by friends or purchased seed garlic. Supermarket garlic is often treated with a growth inhibitor, so it is best not to use it. Break apart whole bulbs into individual cloves, being careful to keep a small amount of the hard root plate on the base of each clove.
The soil should be well prepared, with as much organic matter such as compost and manure as you can spare. Fork the bed to loosen the soil and rake to even out the surface, then add a sprinkle of a broad range fertiliser or a layer of chopped comfrey leaves (usually hard to find after frosts), sheep pellets, compost, and then top off with leaves and grass collected from the lawn mower to mulch the surface.
Then plant the cloves directly into this mixture, ensuring they go into the soil underneath. Cloves should be planted pointy end up (root plate down), 5cm deep, and 15–20cm apart in all directions. The more space they have, the bigger the bulbs will grow. The result is a mulched, well-fed bed that will support the garlic through its long growing season.
You may only need to give an additional liquid fertiliser when you see them sprouting and again in November when they are bulbing up. Water well at planting, and a few times in the first few weeks just to settle the mulch, then you should not need to water again until spring. Keep well watered particularly when bulbing from November, and well weeded. Weeding should be minimal with your leaf and grass mulch layer.
If any cloves push up out of the soil while setting roots, re-plant them straight away. Garlic plants should not be disturbed during growth, so avoid interplanting with anything that will require soil disturbance when harvesting. However, you can grow low-growing greens like rocket, spinach and pak choi, which can be cut at ground level.
Rust is a fungal disease that may develop later in the season if conditions are humid, so ensure good airflow around plants and maintain mulch to avoid soil splash when watering.
If planted in May/June, you will be harvesting at the end of December or beginning of January. If you grow hard neck garlic, which produces flowering scapes, you should harvest and eat the scapes so the plant can put its energy into bulbing.
Broad beans for November harvest: Direct sowing (preferred method) - Sow seed directly in the soil, about 5 to 7 cm deep, space seeds 15 to 20 cm apart in rows. Seeds stay dormant or grow slowly through winter
Strawberry established plants (or well rooted runners) can still be planted.
Indoors
Microgreens
Mesclun salad mixes - Rocket, Mizuna, Mibuna are the quickest
Asian Greens - Pak Choi, Tatsoi
Herbs
Sprouting seeds
Microgreens & Sprouts
Microgreens and sprouts are especially good for beginners: fast, easy, reliable and nutritious.
For simple instructions, check our Month of May gardening blog or check out King’s Seeds guides.
Resources:
Harvest Homegrown holds workshops on quick winter greens on 14 June
Harvest Homegrown has an awesome little guide on growing strawberries the lazy way
Harvest Homegrown holds a garlic and strawberry planting workshop yearly, check dates here.
Kings seeds microgreens and sprouts guide.
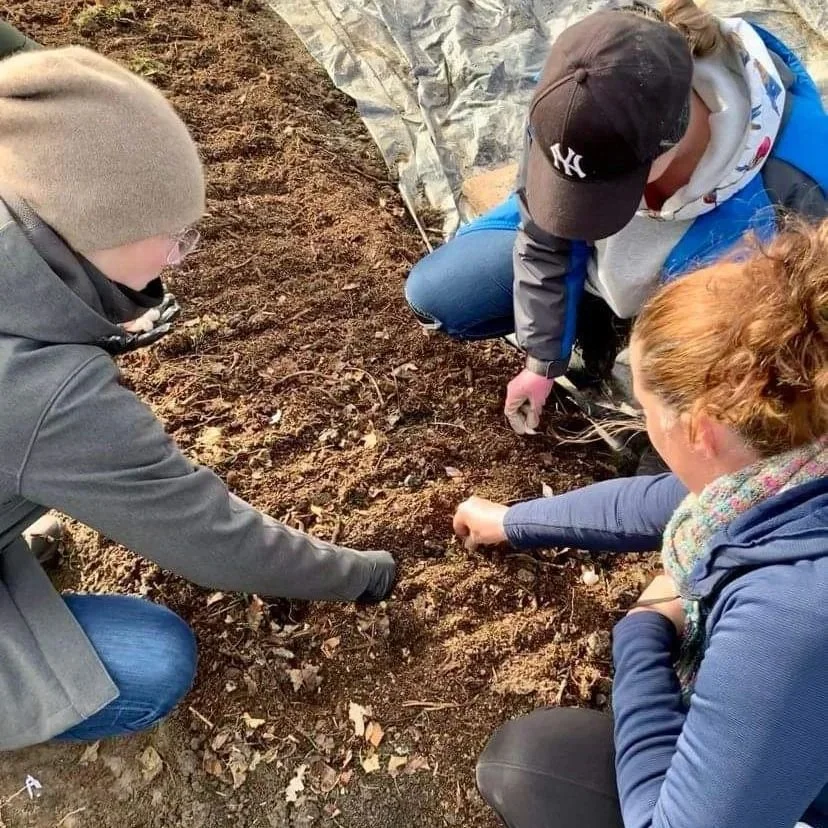
Garlic planting workshop with Harvest Homegrown in Hāwea Flat. Learn by doing! (© Harvest Homegrown)
-
If you haven’t yet collected or ordered your seeds for Spring planting, check out the month of May Blog post and order now!
Booklet by the Koanga Institute Save Your Own Seeds
-
Low cost gardening tips
Swap seeds
Collect compost materials
Share tools
Join community gardens
Start neighbourhood growing groups
Reuse materials creatively (keep in mind that you want non-toxic materials near the food you grow!)
Use winter well
This was true last month, and it still is in June. Use winter to:
Identify sunny areas in your garden
Note frost zones in your garden
Plan bed locations (if you are postponing the bed building, or plan to create more later in the year)
Think about what your household actually eats
Source seeds early
Read up on gardening (see our book tips below)
-
Food resilience is not only about what you grow or store. It is also about noticing what food already exists around you. Local foraging knowledge helps households identify seasonal wild foods, fruit trees, herbs, nuts, mushrooms and edible weeds in our landscape. Building this knowledge increases confidence, reduces waste, saves money and reconnects people with place.
Even learning a few safe, abundant species each season can meaningfully strengthen household food resilience.
Start small and safe:
Learn correct identification
Avoid sprayed or polluted areas
Take only what you need
Leave plenty for others and nature
Never eat wild plants or mushrooms unless identification is certain.
Forage now:
At this time of year, a few reliable and nutrient-rich greens are beginning to appear in the region.
Miner’s lettuce (Claytonia perfoliata) just starting to come up end of May and should be good for harvesting through June. It grows in cool, damp, shaded areas and forms soft, round leaves. It is one of the best winter wild greens because it stays tender and mild even in cold conditions.
How to use it
Wild greens are best used fresh and simple. Rinse if needed and add straight into salads or sandwiches.
Miner’s lettuce is particularly good as a salad base on its own, while chickweed works well mixed with other greens.
Resources:
If you are new to foraging, it is important to learn identification from trusted sources and local guides before eating any wild plant.
iNaturalist NZ (best overall app for accuracy + community verification)
https://inaturalist.nz - Global platform with a strong NZ community of botanists and ecologists. You upload photos and get community-verified identifications.
Seek by iNaturalist (best beginner app)
https://www.inaturalist.org/pages/seek_app - Simple, camera-based ID app that works offline and is designed for quick identification in the field.
Book: Foraging New Zealandby Peter Langland
Central Otago Foraging Facebook page
Foraging walks are offered on a regular basis by some of our talented local herbalists such as:
Loran Verpillot from Herbal Culture (Upper Clutha)
Rochana Moon from Wise Moon Wellness (Upper Clutha)
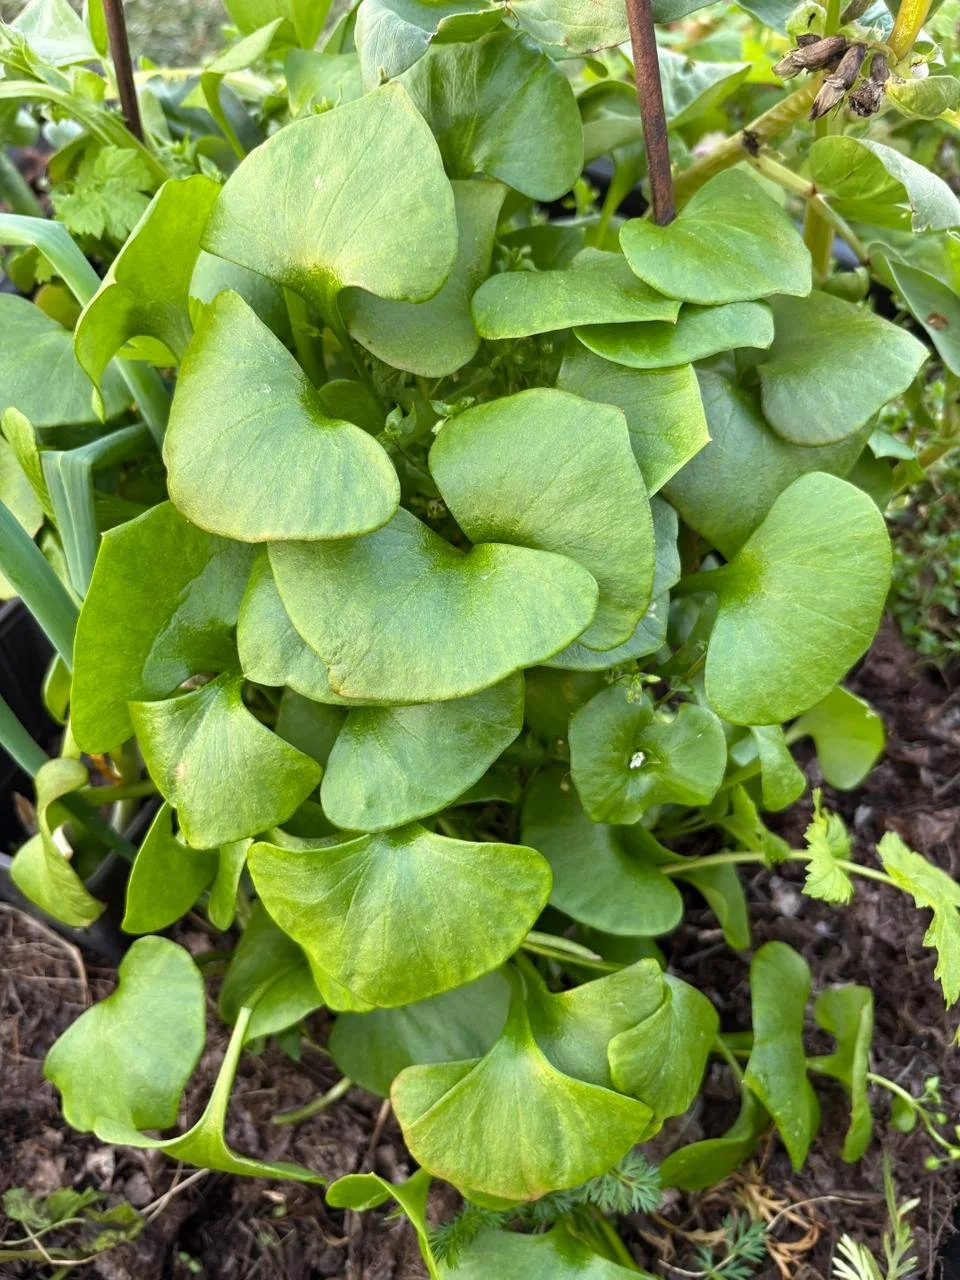
Miners lettuce has lovely heart-shaped leaves and is delicious in salads and wraps.
-
Food resilience is not only gardening, it includes your household pantry.
Last month we recommended you start building staples for a few weeks - we suggest you keep adding to it until you have about 2-3 weeks worth of food for your household, including rice, pasta, salt, tinned beans and tinned tomatoes. This helps when fresh food is scarce, prices rise or shops are inconvenient.
Del from Dishes with Del reckons now is a perfect time to make your own vinegar. Vinegar is something most people use regularly, and it’s a great way to make use of this season’s abundant fruit harvest. You can turn excess fruit into something useful that will last you through the year. It’s simple, beginner-friendly, and a great small-scale preservation project.
Look out for:
Food preservation workshops
Cooking skills events
Waste reduction programmes
Wao Food Resilience calendar of events is a good place to start
Resources:
Dishes with Del (pantry and waste reduction tips)
Dishes with Del You tube video how to make your fruit vinegar
-
We will focus on:
Starting seedlings indoors for a strong spring head start
Preparing and improving garden beds so they are ready for planting
Growing and maintaining cold hardy crops: spinach and silverbeet

Make your own fruit vinegar using Del’s method (© Dishes with Del)
-
Ali Soper: seasonal gardening advice via Your Garden Coach podcast and consultations
Erin Allison Harvest Homegrown: market garden, gardening guides and home veggie garden courses/workshops(Hawea Flat, Wanaka) (on Facebook)
Dr Compost: composting made easy as well as gardening education: online info and in-person workshops available in Upper Clutha and Whakatipu.
Community gardens: Grow Wanaka, Hawea Food Forest, The Templeton Park Community Orchard (Albert Town Wānaka),and Queenstown Harvest Community Gardenworking bees.
Local Gardening clubs: The Wanaka Vegetable Growers Club meets the first Wednesday of the month (apart from June and July) at St John's Rooms Linkway Wanaka at 7pm.
Food growing related speakers, Garden Visits, Discussions/Q & As sharing of knowledge of food growers in our unique environment.
Surplus seeds and seedlings.
Annual membership sub of $25. Garden Visits are free. Anyone is welcome to come to meetings as a visitor and check out if they want to join them.
Contact: wanakavgc@gmail.com
The Hāwea Garden Group is an informal gathering for people interested in all aspects of gardening.
Activities include garden visits, guest speakers, and hands-on workshops.
Free to join, and you’re welcome to attend whenever it suits.
Meets every second Thursday from 20 August (starting with a seed swap and seed raising session) through to 19 November.
For more information, contact Diana at mansondiana@gmail.com
Pantry and food waste reduction tips: Dishes with Del
Foraging walks are offered on a regular basis by some of our talented local herbalists such as:
Loran Verpillot from Herbal Culture (Upper Clutha)
Rochana Moon from Wise Moon Wellness (Upper Clutha)
-
Home / small scale regenerative growing:
The Edible Backyard by Kath Irvine (NZ). Excellent for practical, year round home food production in New Zealand conditions, with a strong focus on seasonal growing, resilience, and low input systems. She takes a very holistic approach and the advice is applicable to a wide range of zones. It is focused on getting the foundations right, with simple explanations and practical, reader friendly guidance.
Square Food Gardening 4th Edition. This is a book that often resonates with new gardeners with small spaces to grow food. There is a metric version too (One Square Meter garden)
The Abundant Garden by Nova and Yotam Kay (NZ). Excellent for productive household food systems, abundance, seasonality, and low input methods.
NZ Gardener Magazine is a great resource too.
Our libraries have plenty of books and magazines about gardening!
Seed sovereignty / resilience:
Koanga Institute resources and publications (NZ): Save Your Own Seeds
Foraging:
Foraging New Zealand by Peter Langland
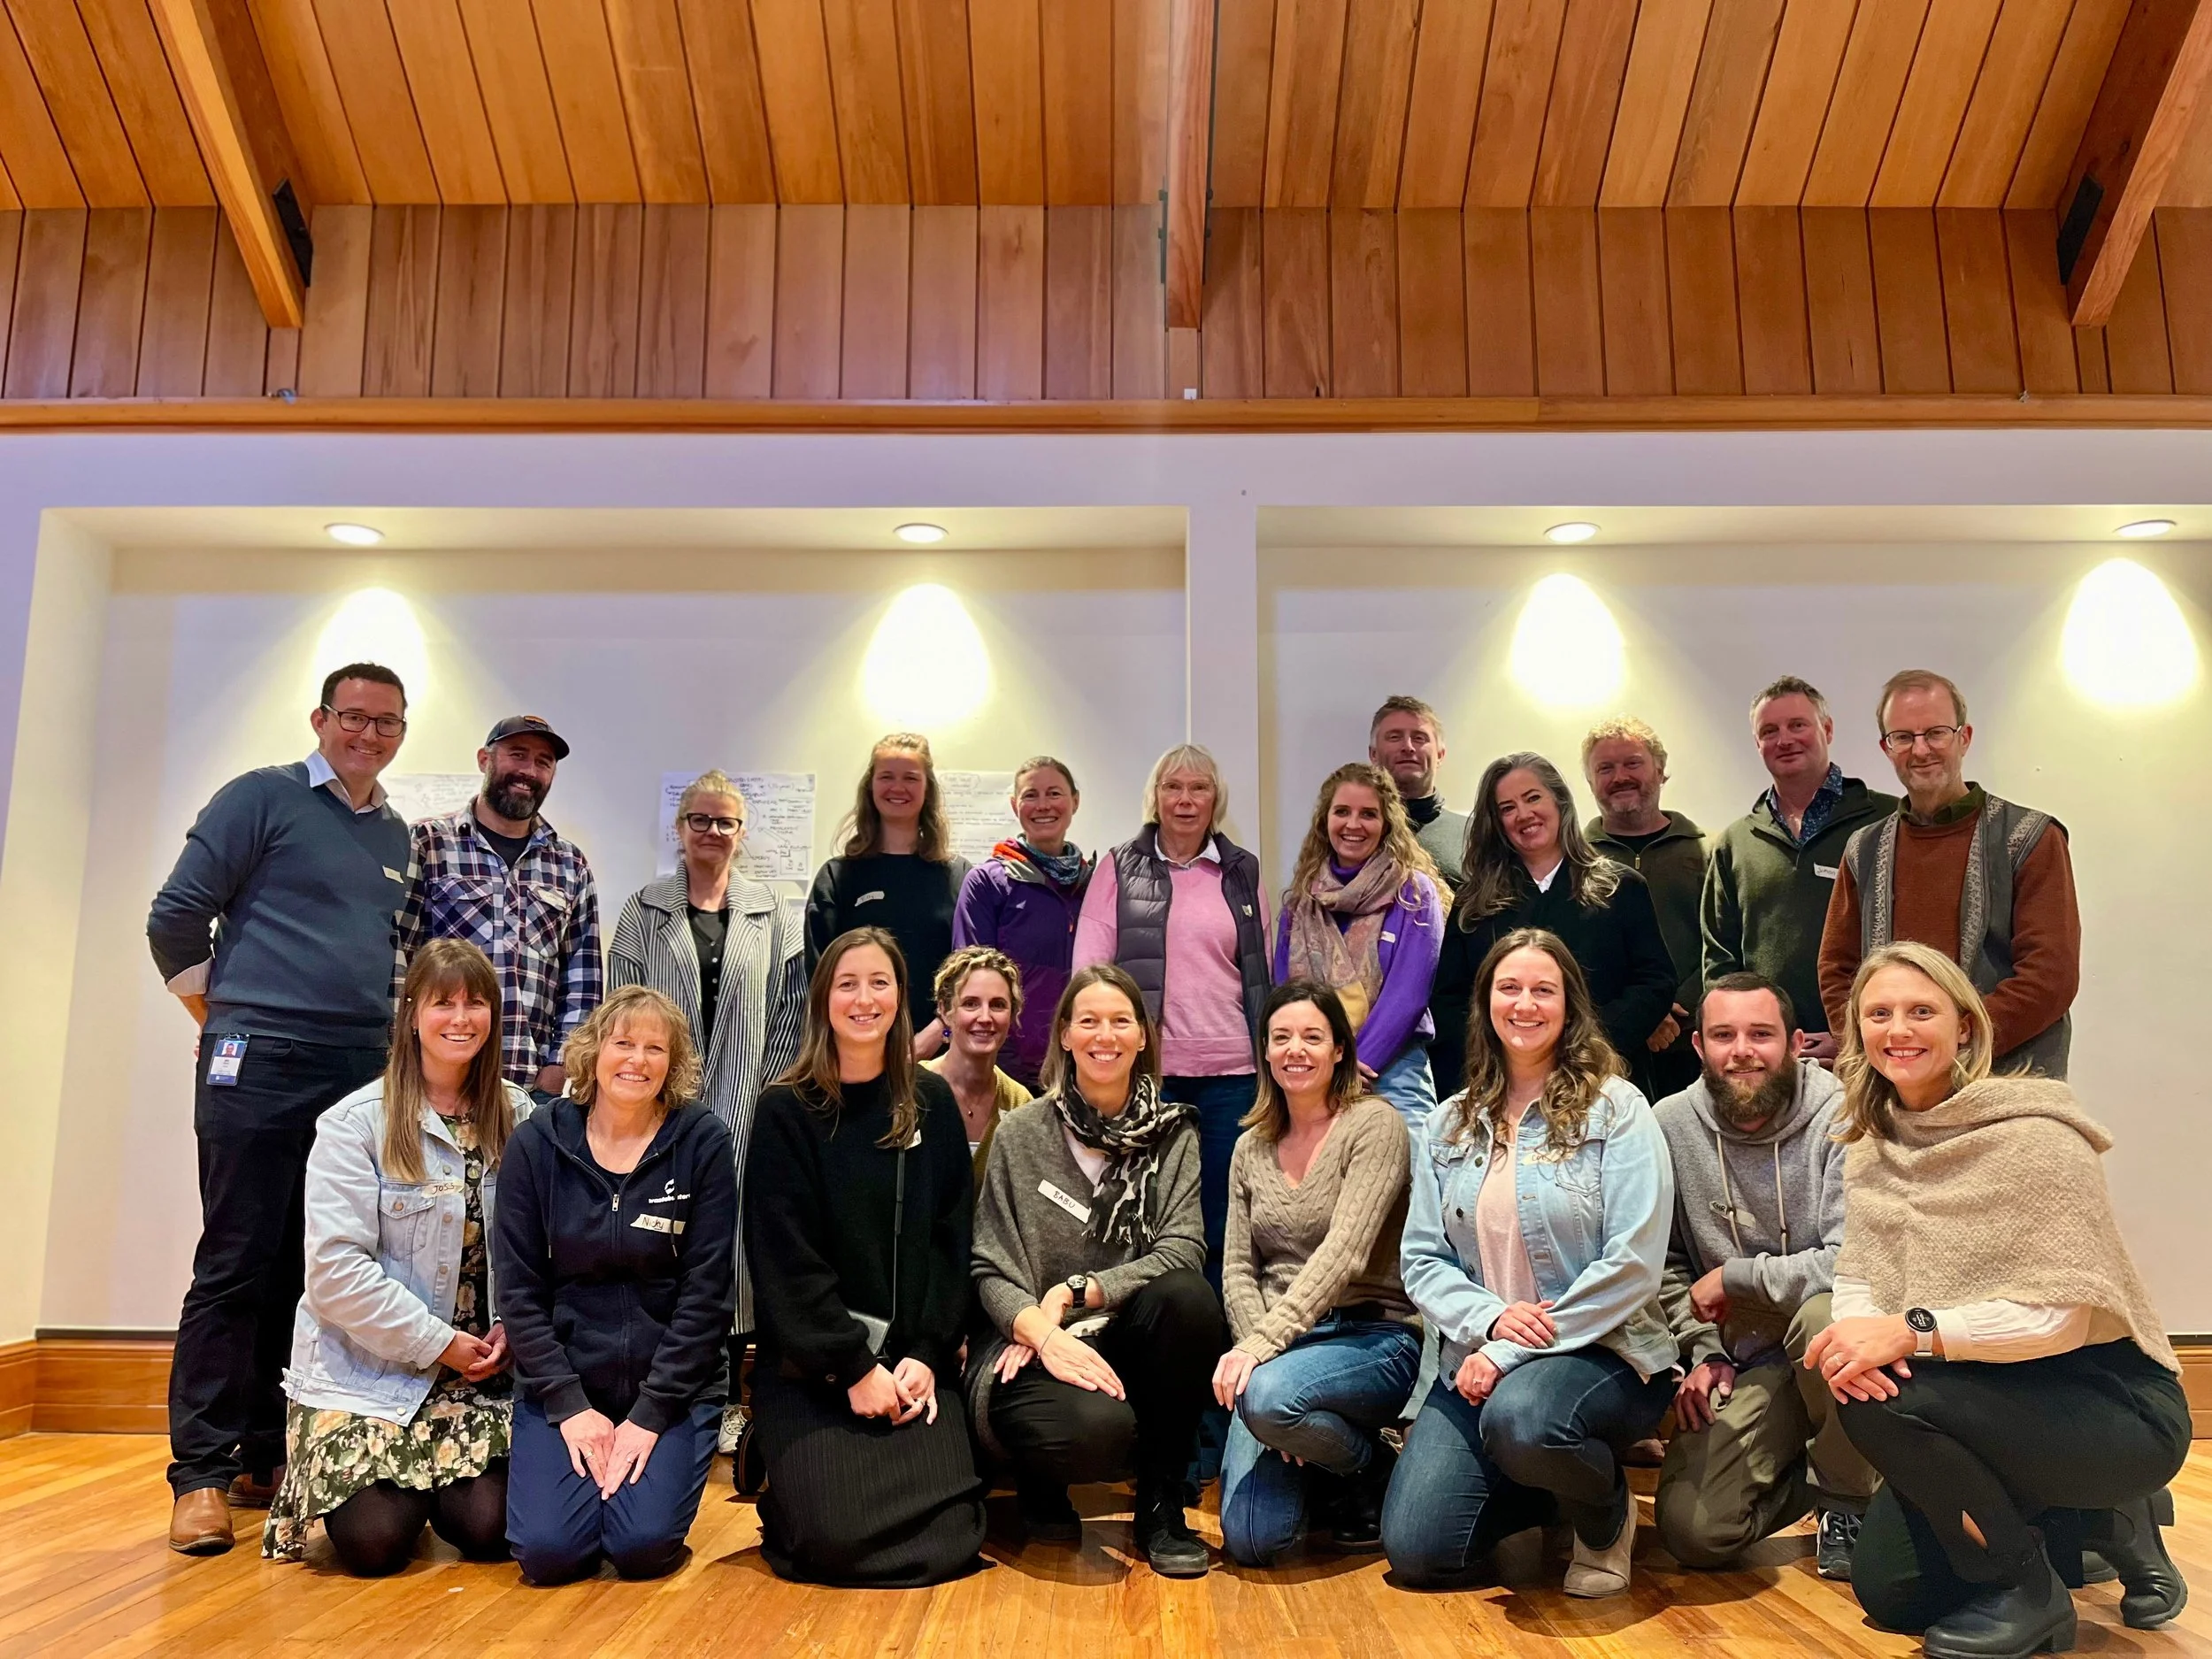
The Southern Lakes Kai Collective at its inception in September 2024. It has since grown to 45 members from across the district and the wider food ecosystem.
-
The Southern Lakes Kai Collective is a think tank focused on increasing the district’s food resilience. The food growers generously contributing their time and knowledge to this gardening blog are:
Adele (Del) Holland - Dishes with Del : recipes, food preserving, avoiding food waste
Ali Soper - Your Garden Coach : podcast & food garden consultations
Ben Elms - Dr.Compost (Wastebusters): compost systems, soil health, gardening workshops, etc.
Brendan Lopez - Welcome Rock Gardens (bio intensive market garden)
Bruce Thurlow - Otago Polytechnic
Diana Manson - Hawea Food Forest : Community Garden
Emberly Wetherall - Grow Wānaka : Community Garden
Erin Allison - harvesthomegrown.co.nz : Homegrown organic produce and seasonal Veggie Growing Workshops for home gardeners.
Louise Wilson - Forager & home gardener
Michael Sly - Waste to Wilderness: composting and microbial soil systems
Mickey Dahlstrom - Millbrook resort food garden
Neal McAloon - Queenstown Harvest Community Garden and Bee The Change
Sydney Telfer - Aspiring market gardener / regenerative agriculture
Theo Richard - The Sherwood restaurant food gardens
-
We welcome your feedback and invite you to use this form to share your thoughts, ideas, and suggestions
More about the Southern Lakes Kai Collective mahi here.